


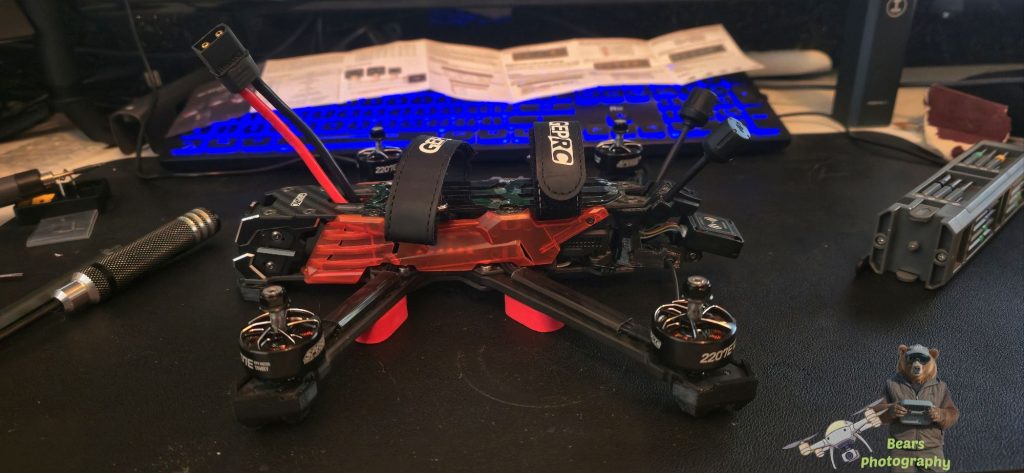
Install GPS to GepRC Vapor D5
Before we do anything, Take those propellors off for safety
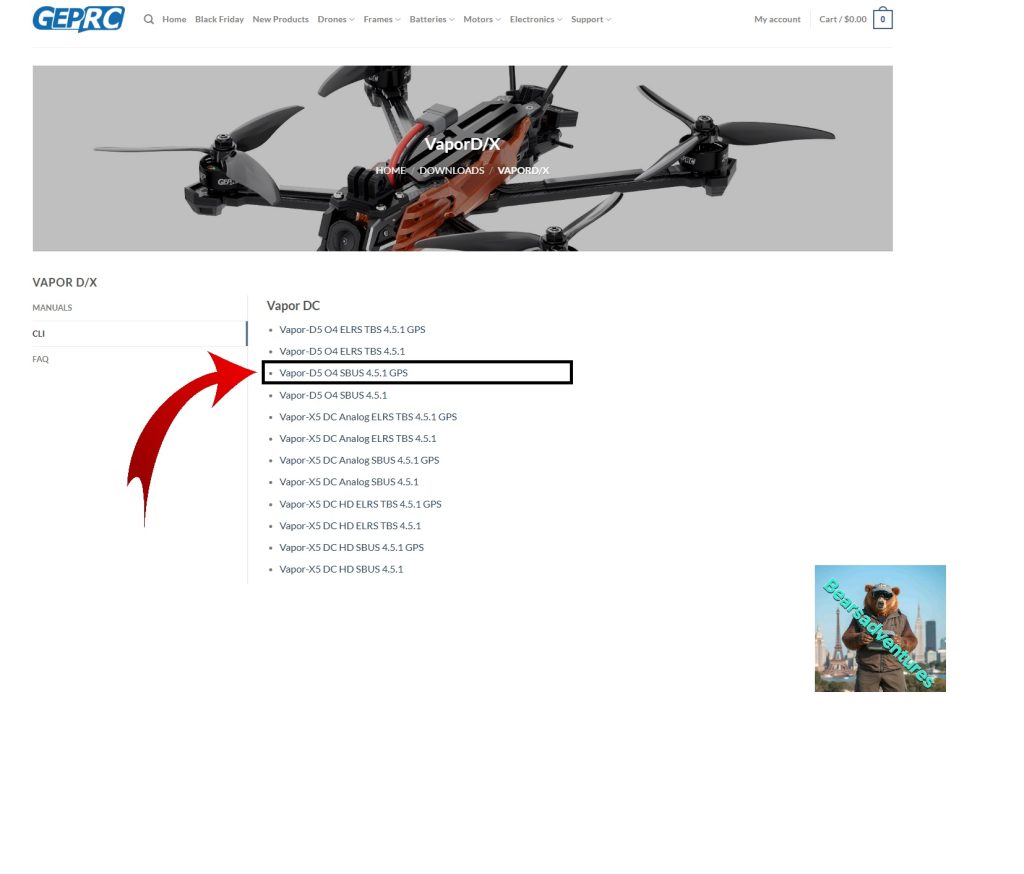
if you need the CLI SBUS GPS file here is the Link
Using this file will help you setup GPS in Betaflight, But bare in mind if you have not got GPS flashed with your firmware this will not work..
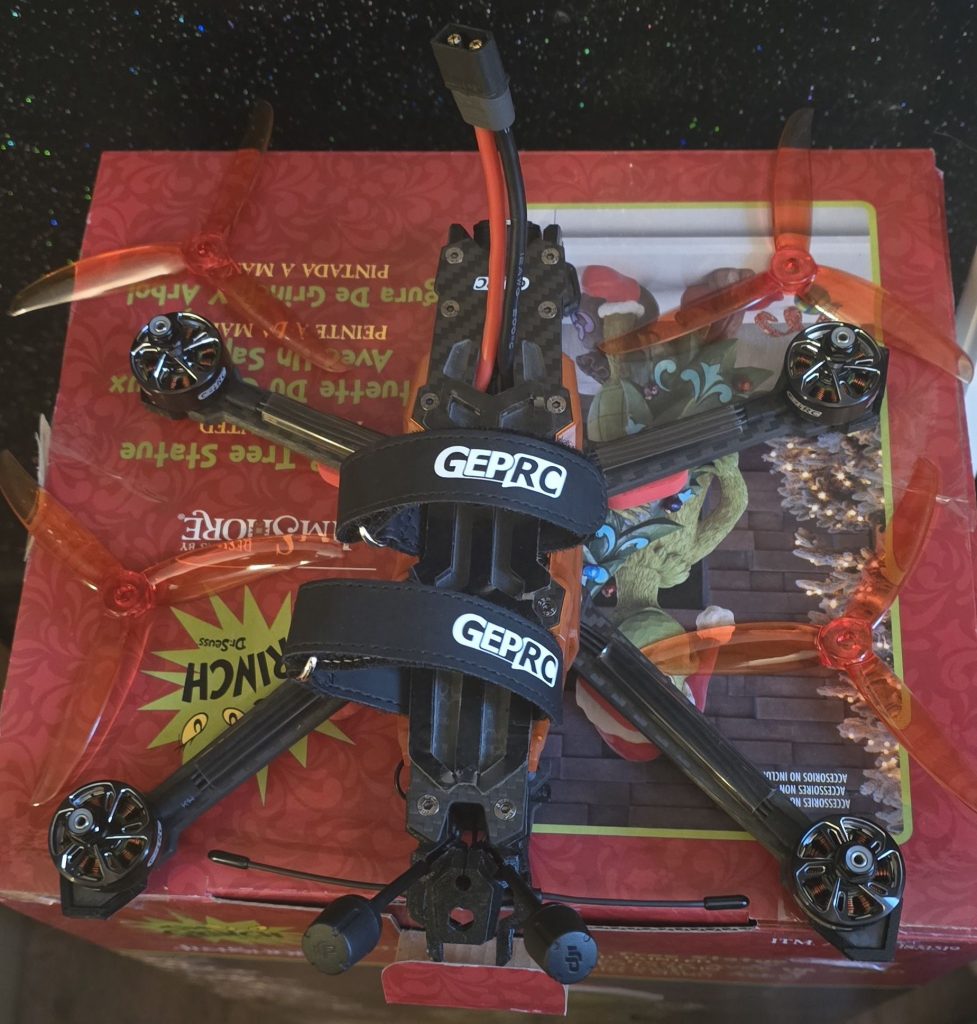
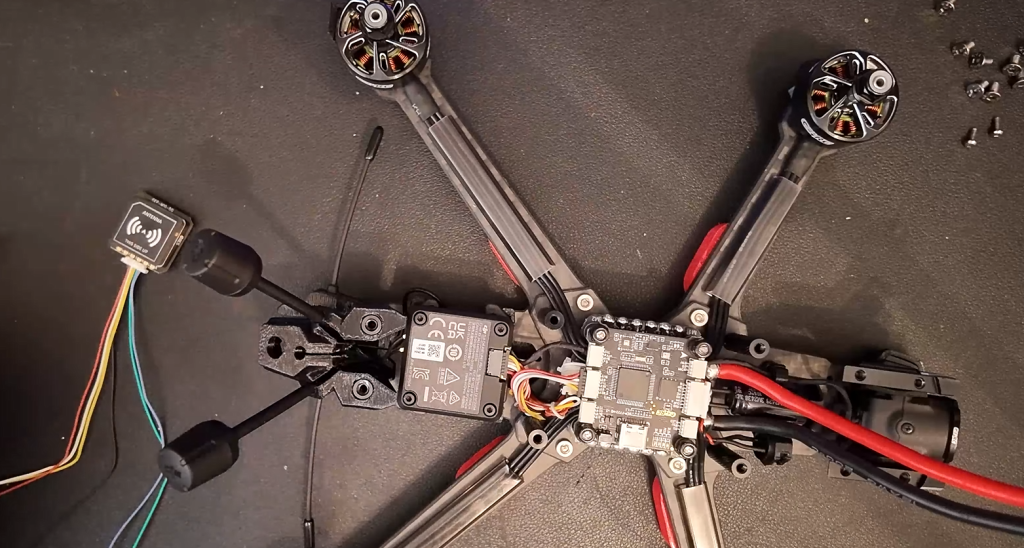
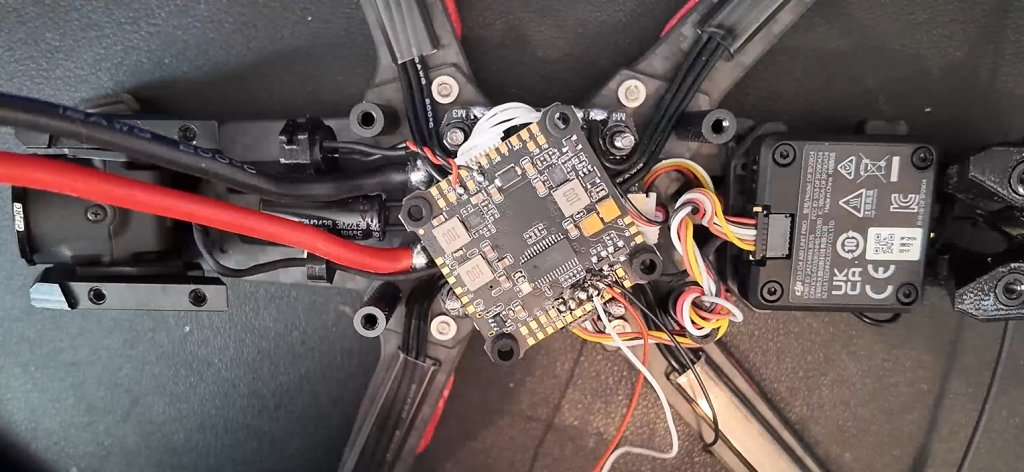
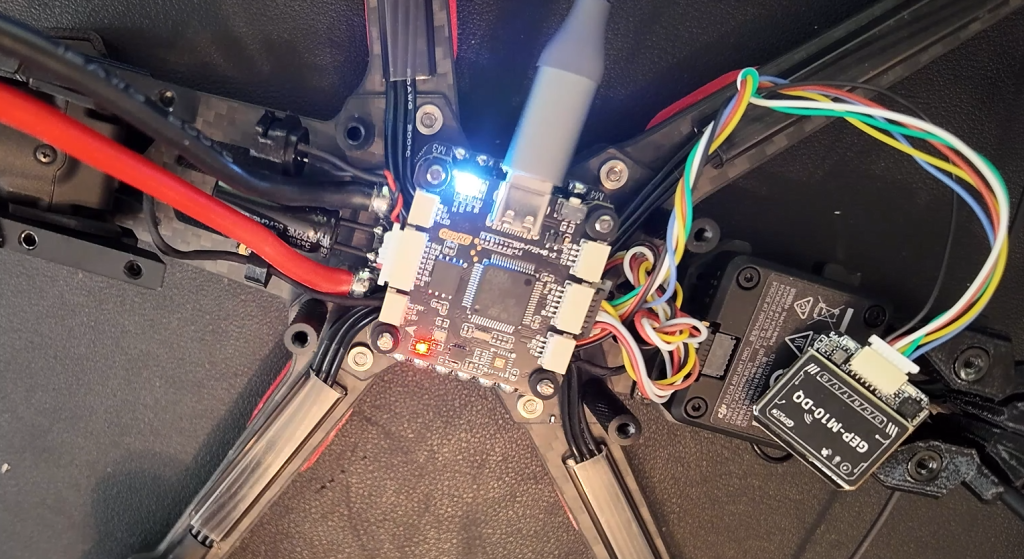
So now lets get the D5 Hood off and make a start with seeing what we are working with. Start by moving the 10 screws holding the top of the body on. and them removing 2 screws under the body to release the side frame parts. the drone should now look like the middle picture below. Now remove the 4 bolts holding the FC board onto the frame of the drone.
In the diagram below you will see TX4 and TX4 for this tutorial. It can get a little confusing. you need to match. GND, 5V, SDA and SDL on the FC board and GPS board. TX on the GPS needs to go on RX of the FC board. RX on the GPS needs to go on TX of the FC Board.
Basically TX means transmit and RX means Receiving. So with this in mind. the GPS TX(Transmit) Needs togo on RX(receiving) on the FC Board.
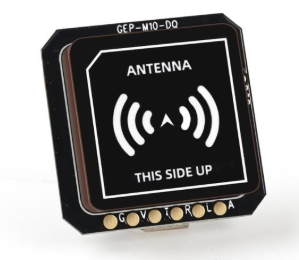
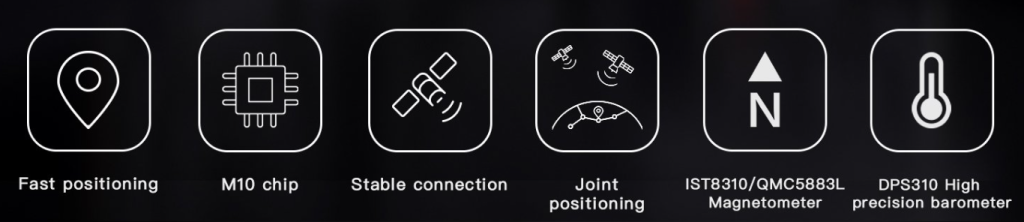
I order the GEP-M10-DQ from GepRC Link here and manual below.
Size GEP-M10-DQ 22*22mm

GPS FC
TX -> RX4
RX -> TX4
GND -> GND
5V -> 5V
SDA -> SDA
SCL -> SCL

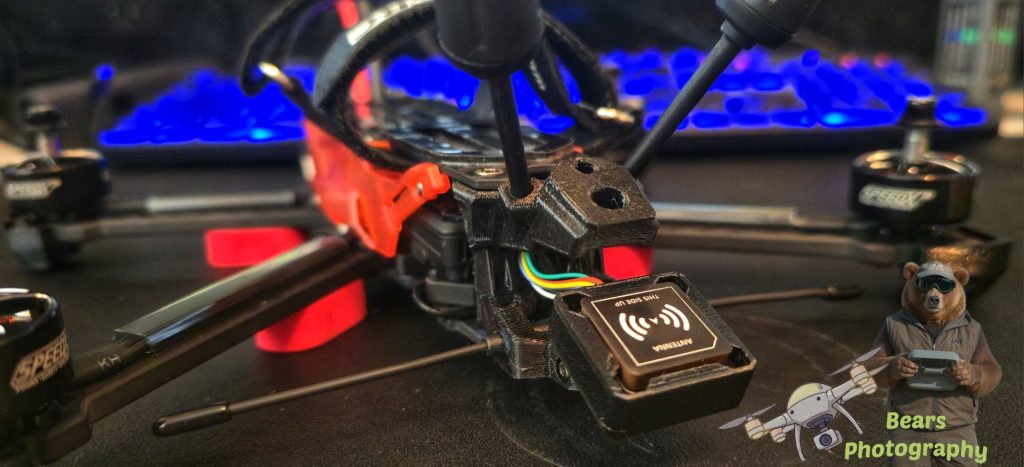
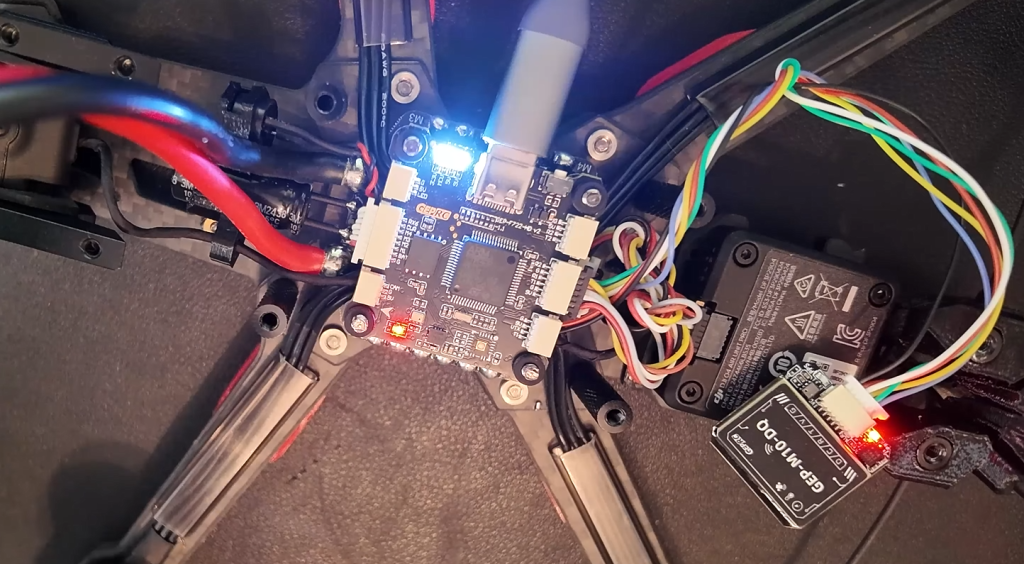
You should be now at a stage where you are soldering the GPS cables to the FC board. My soldering is not the Best but i got the job done.
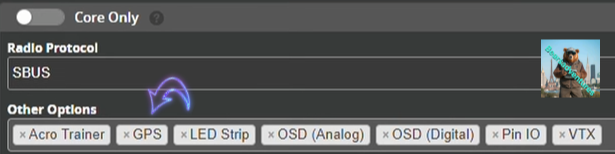
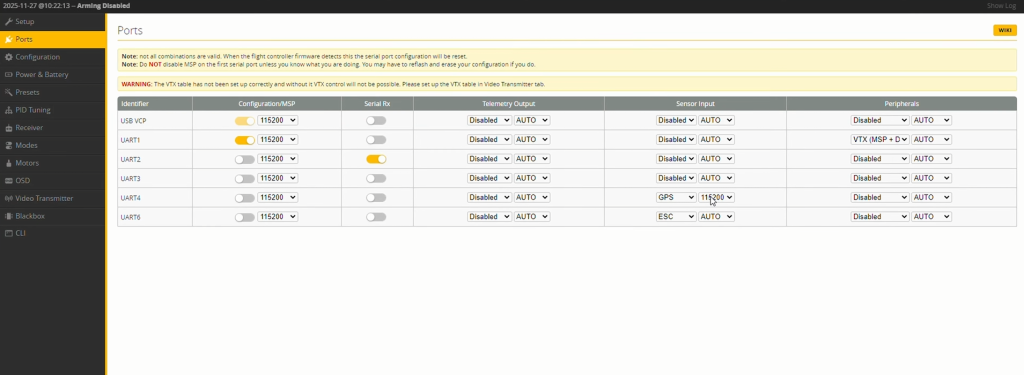
After all the soldering is complete, I decided to test the GPS Module before putting everything back together again. Remember to plug in a battery, but before you do use a smoke stopper aswell, Last thing we want is a Dead FC board. I did try and plug in the usb cable first but no joy. you also need to remember to turn on the Uart4 port for GPS.
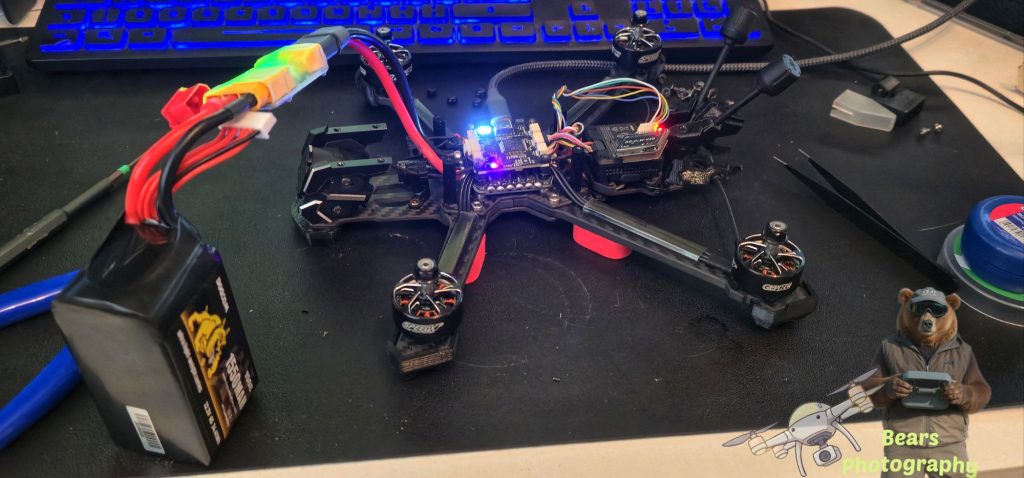
After all the soldering is complete, I decided to test the GPS Module before putting everything back together again. Remember to plug in a battery, but before you do use a smoke stopper aswell, Last thing we want is a Dead FC board. I did try and plug in the usb cable first but no joy. you also need to remember to turn on the Uart4 port for GPS. Link to the Smoke stopper i have is here
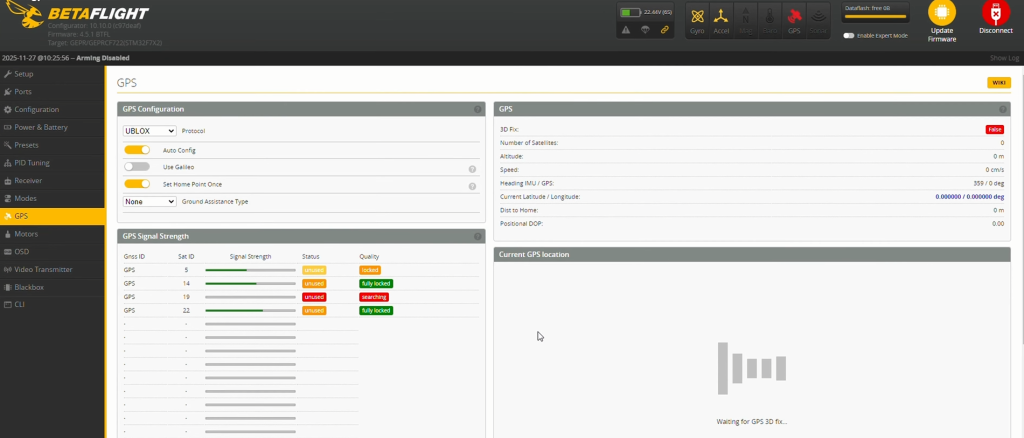
Looking at the GPS tab we can see Sats starting to get locked so we have success, GPS is now working with the D5.
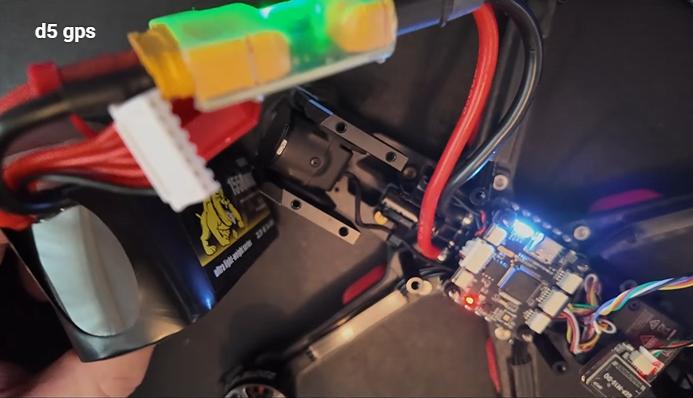
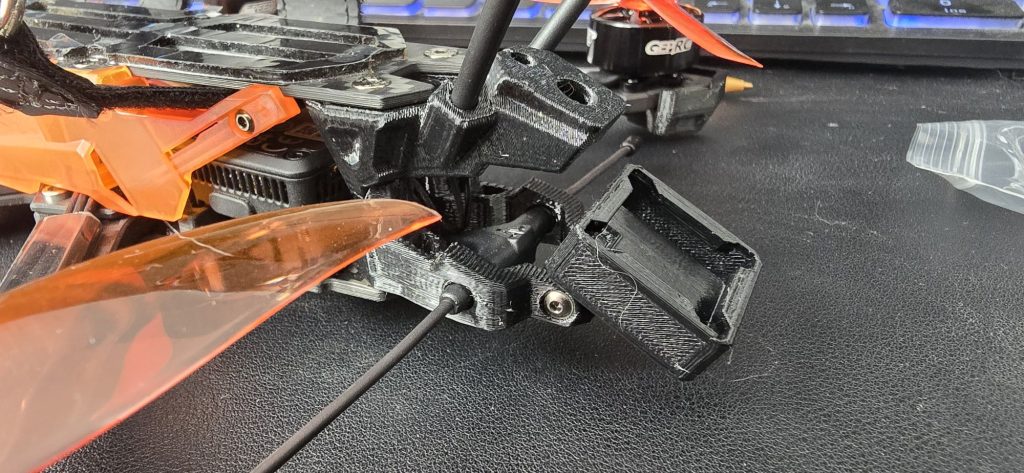
I purchased a 3D printed GPS holder. Took abit to get The module into the holder but soon as it was in, it fitted perfect. There is a Metal rod that fits inside the mount so you can use the 2 screws to secure the bracket to the drone.
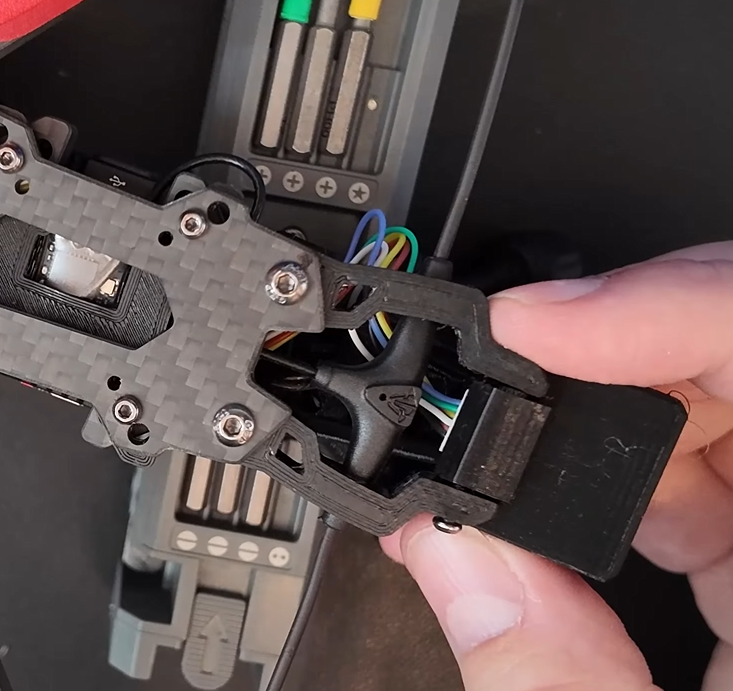
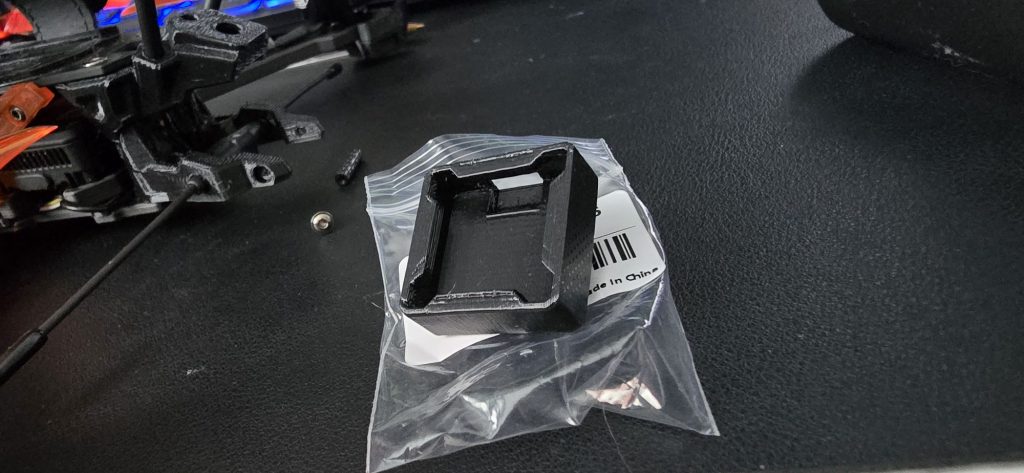
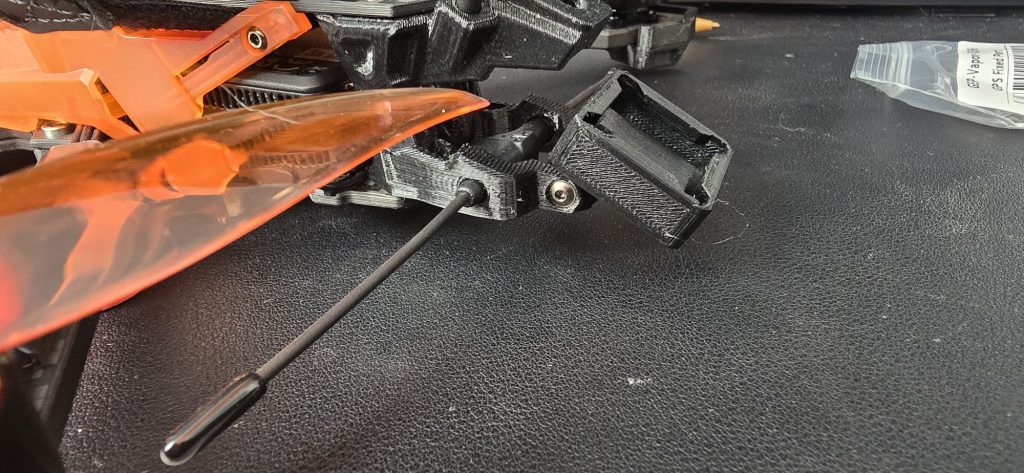
if you are interested in the GPS mount. Found here
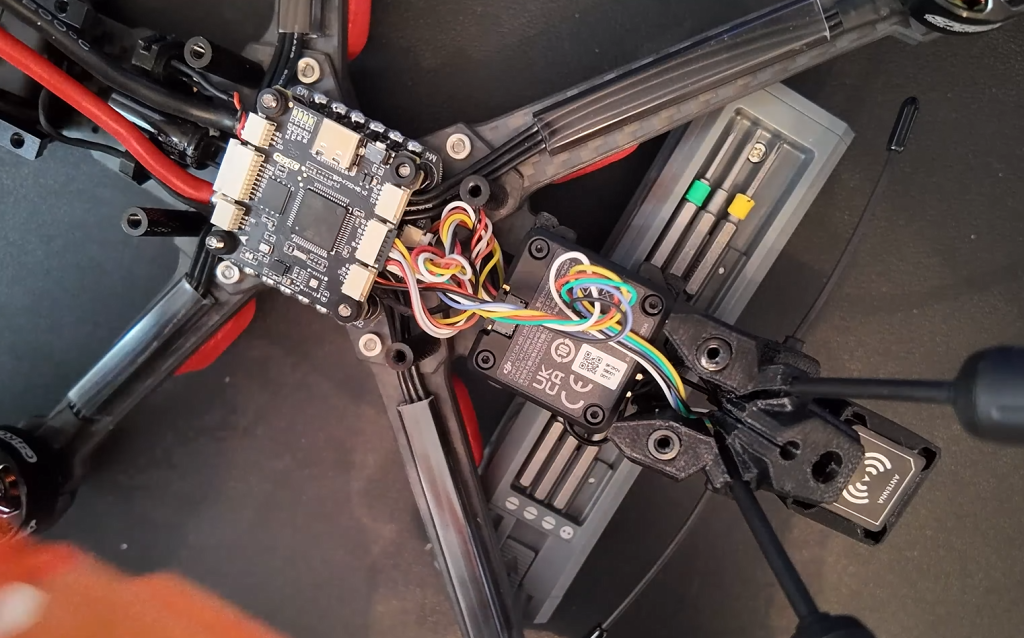
Now the GPS module is secured in it resting place, i opted to run the cables above the air unit so not to disturb the air unit.
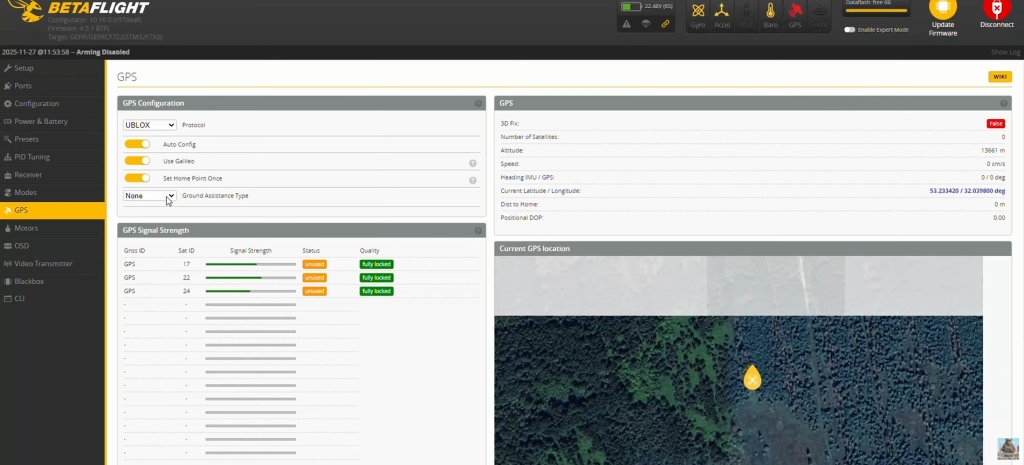
so one final test now i have everything in place. while we are in betalight. Im going to turn Galileo and set home point once. this is so when you turn your drone on the drone will set the home point there and not every time it lands.
You will see i have not set Magnetometer to on. That’s because i didnot flash the FC board with it. I am going todo a separate video on this when Betalight 4.6 comes out.
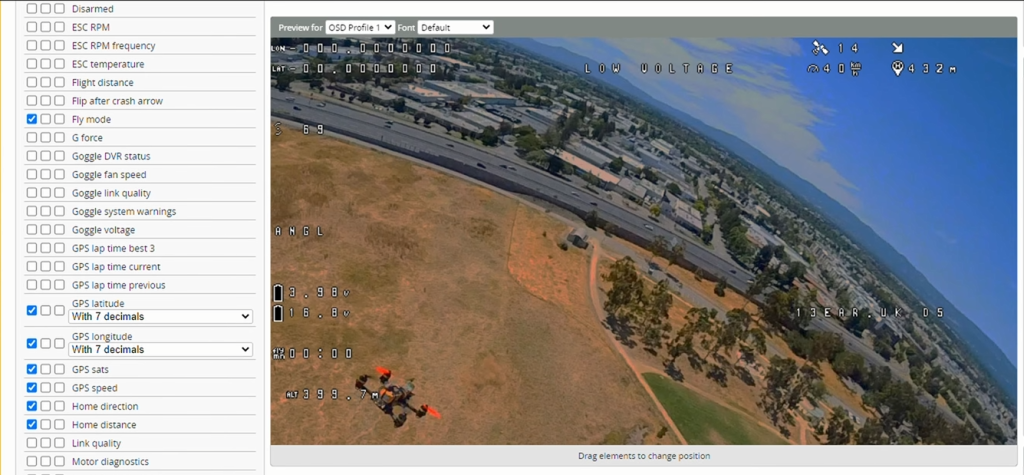
Last thing todo before we go out and fly is to setup GPS in our OSD.
I Put Latitude and longitude top left.
GPS Sats, Speed, Home direction and Home distance is on the top right
Remember to save after you are finished.
Tip:Plug your usb back in after you have saved to ensure the settings are saved
Last thing todo is go out and fly and have fun.
Share : https://13b.uk/7mkt