




Synology DS220+
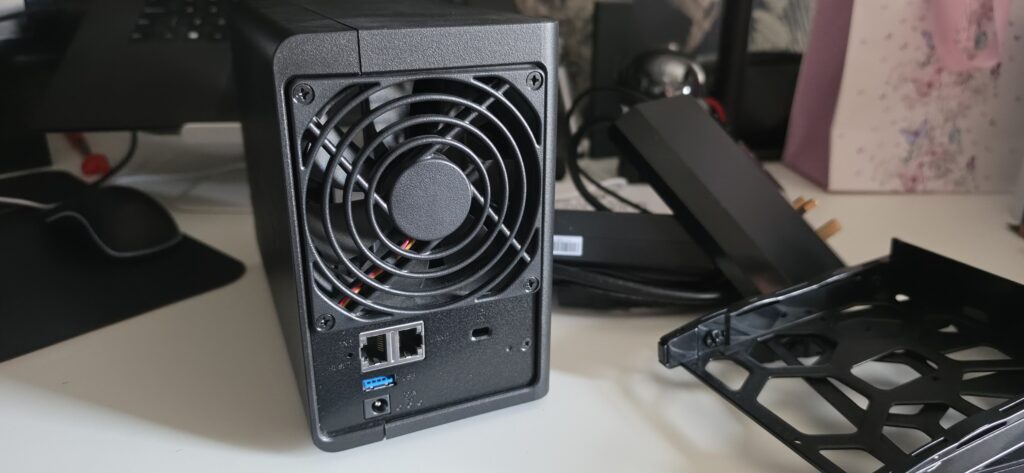
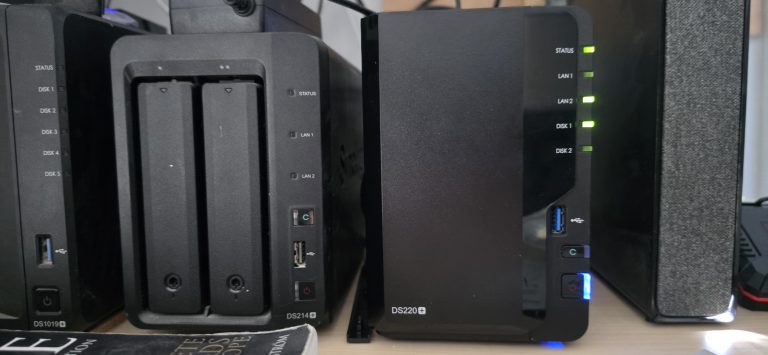
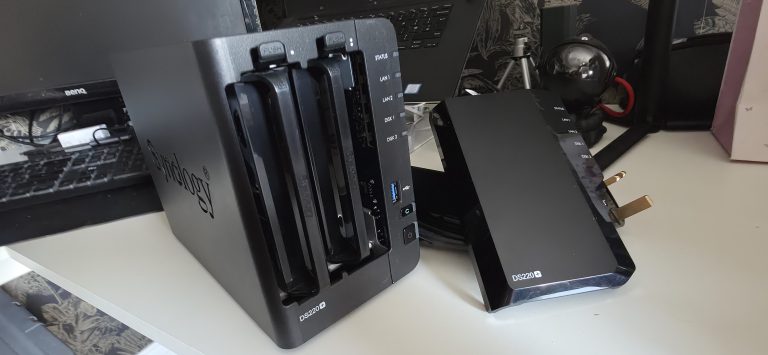
This Synology DS220+ server is to run all my websites and docker projects, because memory is so expensive i have opted for 8GB upgrade. I am also running the system on SSD hard drives. This Server will be backed up on to my other backup server and safe data practice. Tech Specs below.
Hardware
CPU Intel Celeron J4025 2-core 2.0 GHz, burst up to 2.9 GHz
Hardware encryption engine Yes (AES-NI)
Memory 2 GB DDR4 onboard (expandable up to 6 GB)3
Compatible drive type 2 x 3.5″ or 2.5″ SATA HDD/SSD (drives not included)
Hot swappable drive Yes
External port 2 x USB 3.0 port
Size (HxWxD) 165 x 108 x 232.2 mm
Weight 1.3 kg
LAN 2 x Gigabit (RJ-45)
Wake on LAN/WAN Yes
Scheduled power on/off Yes
System fan 92 x 92 x 25 mm
AC input power voltage 100 V to 240 V AC
Power frequency 50/60 Hz, single phase
Operating temperature 0°C to 40°C (32°F to 104°F)
Storage temperature-20°C to 60°C (-5°F to 140°F)
Relative humidity 5% to 95% RH
Maximum operating altitude 5,000 m (16,400 ft
Before i get started lets unbox this, it is second hand and im still waiting on the memory to arrive.
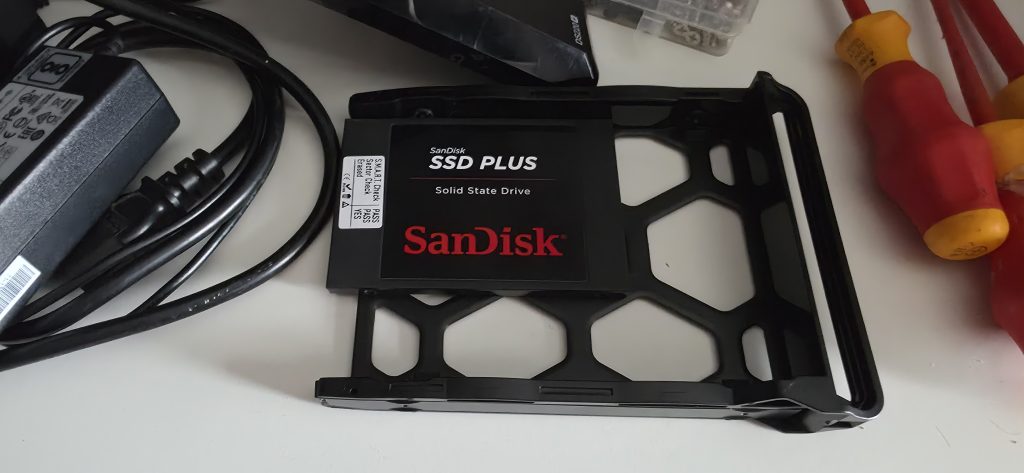
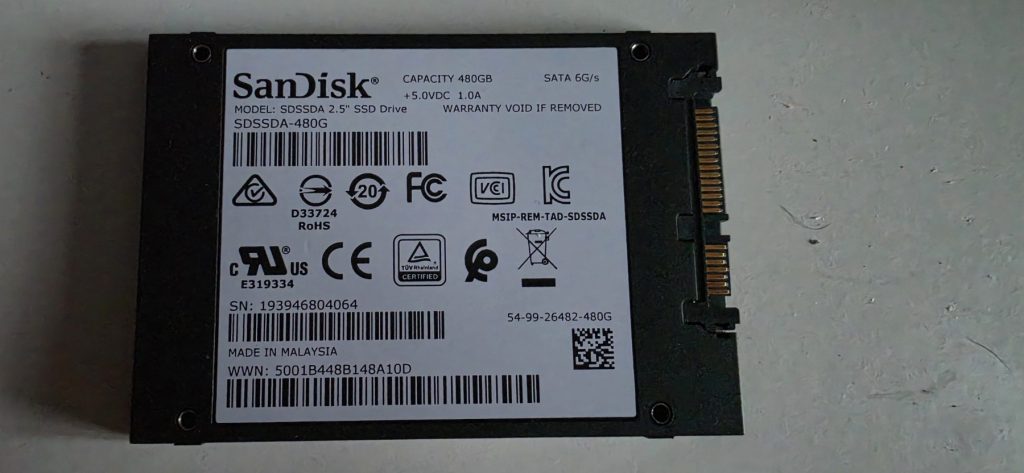
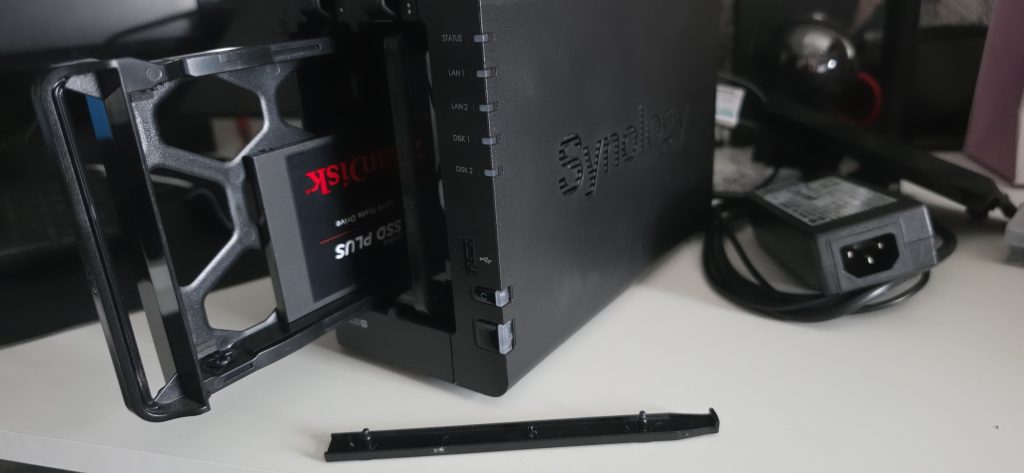
Install the SSD hard drive, Because this is a 2.5 Harddrive i needed to screw the drive to the bay caddy.
Step 1
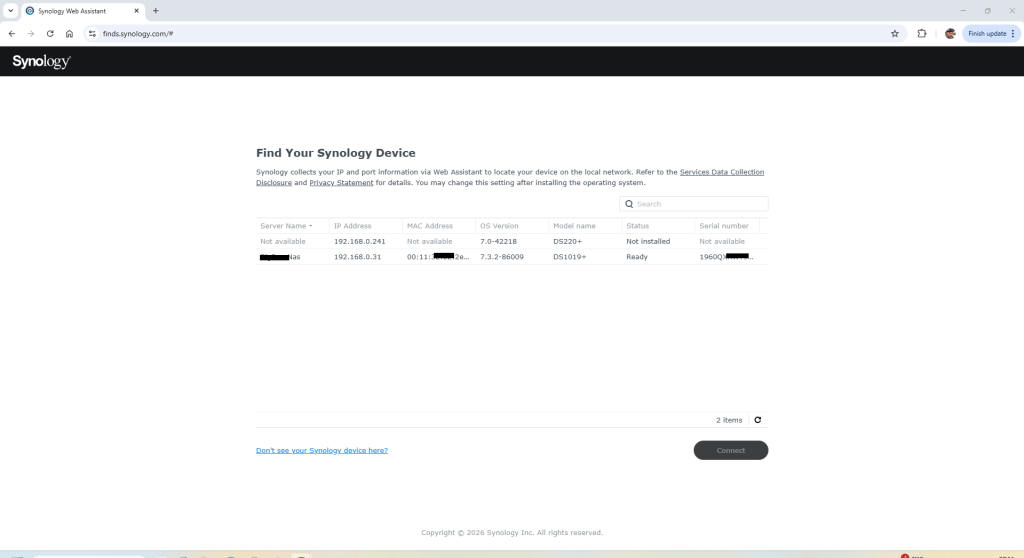
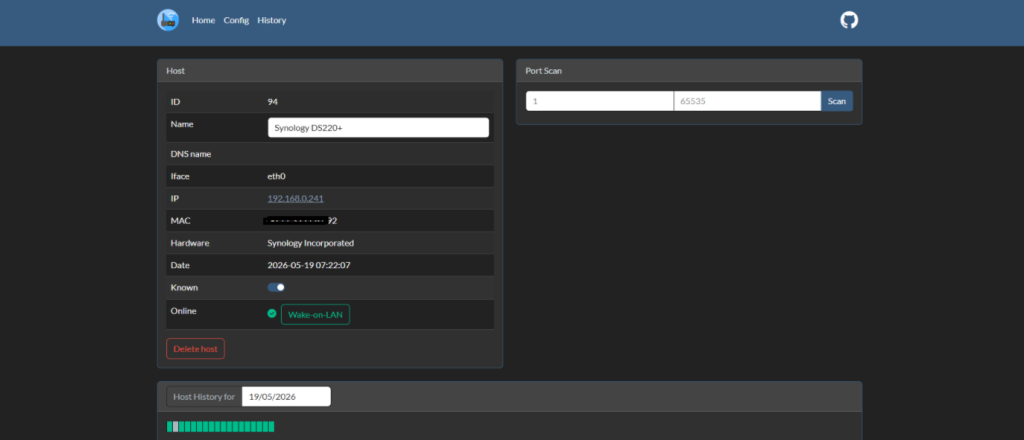
Now im powered up its just a case of waiting for the IP tobe issued so i can then access the DSM through my webpage, There is a easy option by using the link below using sinology’s find site.
Let the system to search for Synology devices, Soon as i loaded the website up it found both my servers that are online, my main one DS1019+ and my New one DS220+
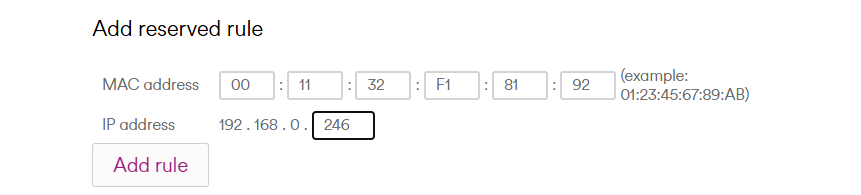
i did notice the Server has been assigned a IP that i already use for something else. so i assigned 246 to this server to stop conflict.
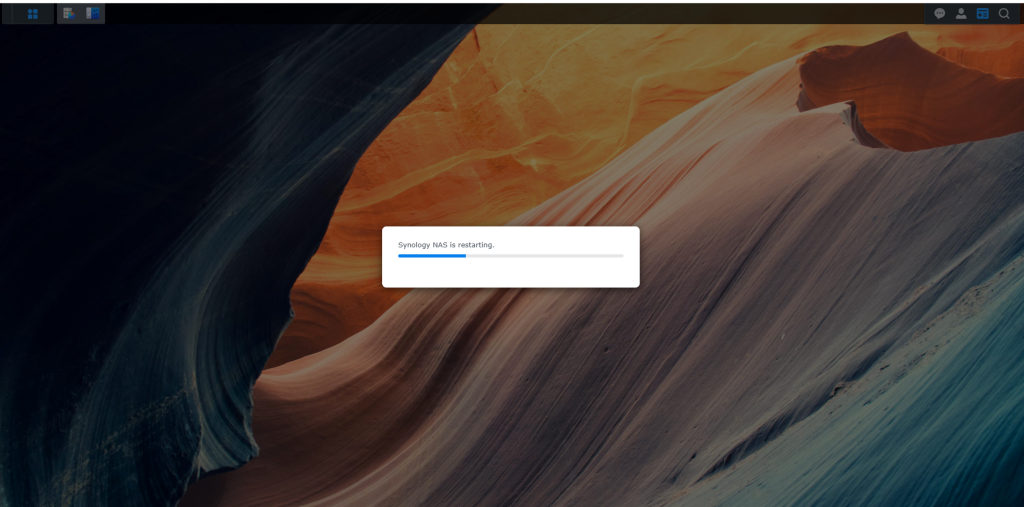
Step 2
Select the new server and select connect.
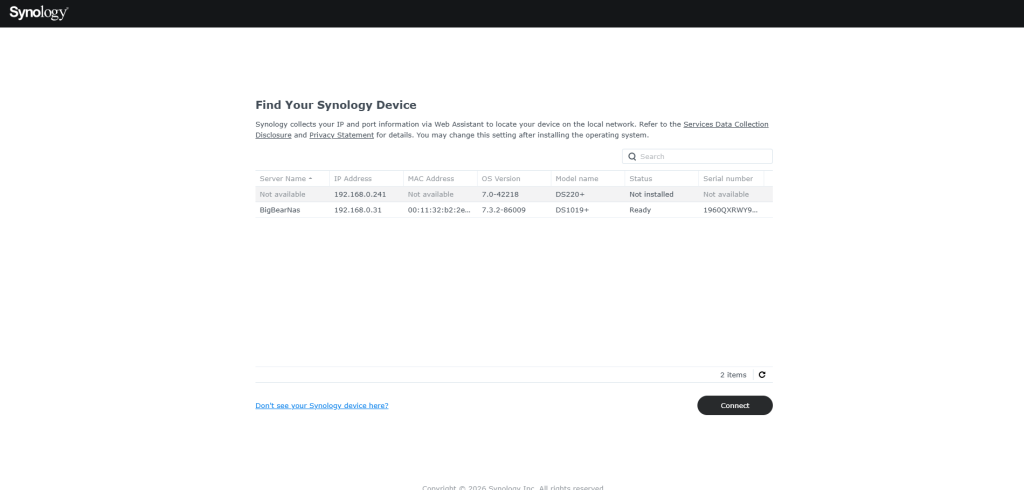
Step 3
Accept the terms and click Next. Then click Continue to Privacy Statement.
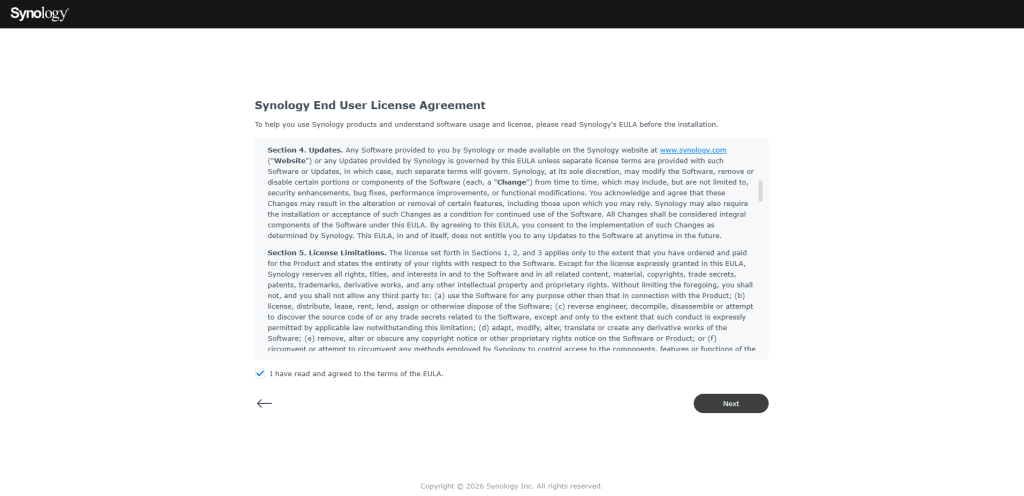
Step 4
Now lets install the DSM on the new DS220+, click Install.
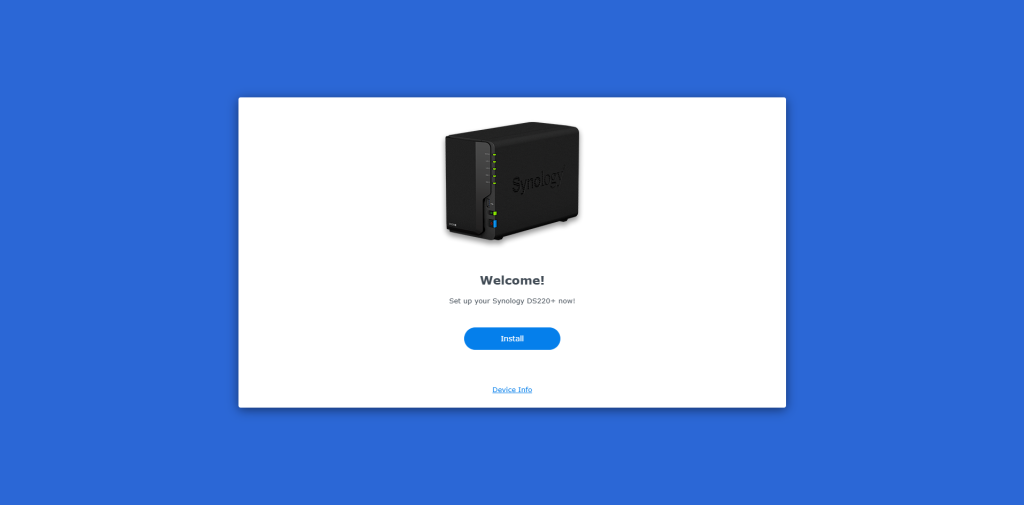
Step 5
Leave checked the option “Automatically download the latest version from Synology website” and click Next, to install the DiskStation Manager, which is the operating system on Synology NAS devices.
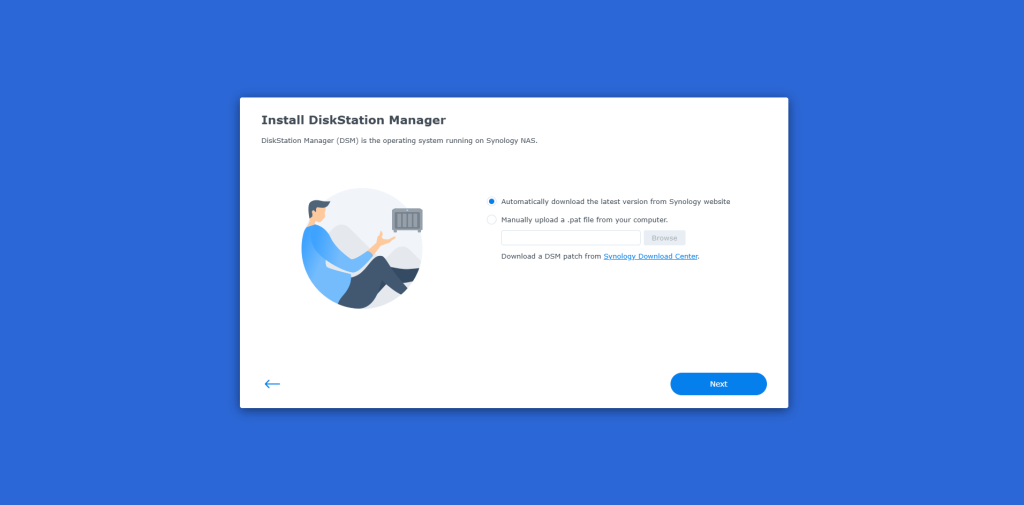
Step 6
Check “I understand that all data on drives will be deleted” and click Continue, to erase all data on the connected drives.
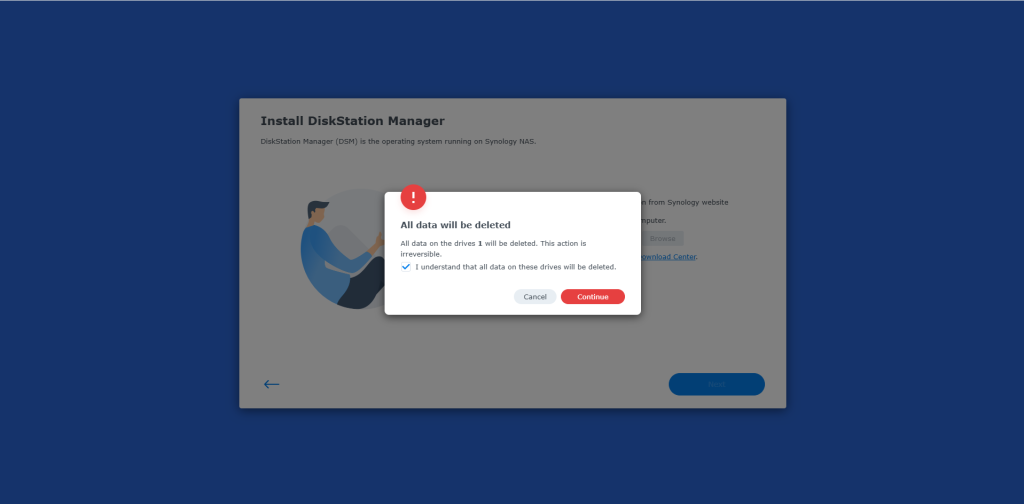
Step 7
Now wait to download and install the Disk Station Manager (DSM). When this done, Time for a Cuppa while the DSM is downloading.
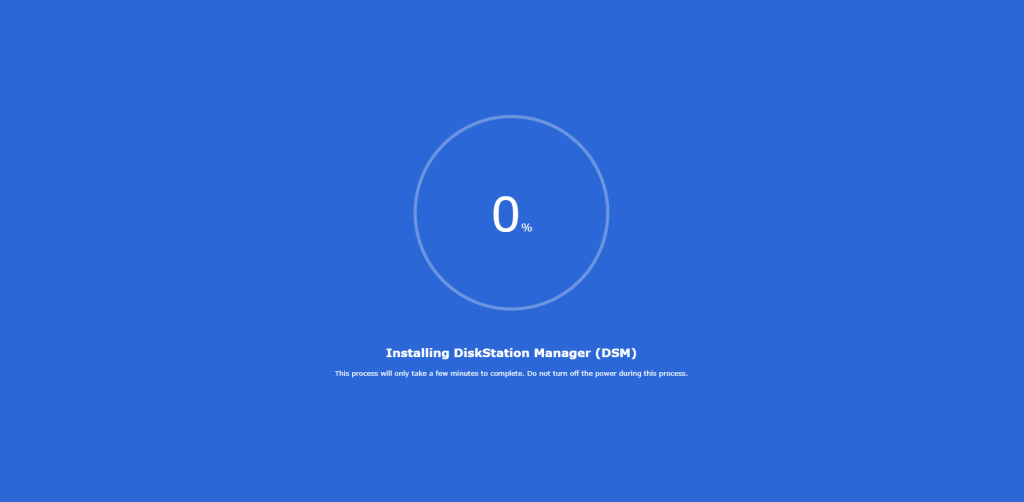
Step 8
Ok so now the DSM has installed and restarted the server, we are ready to start and we are welcomed with the welcome screen. Select start.
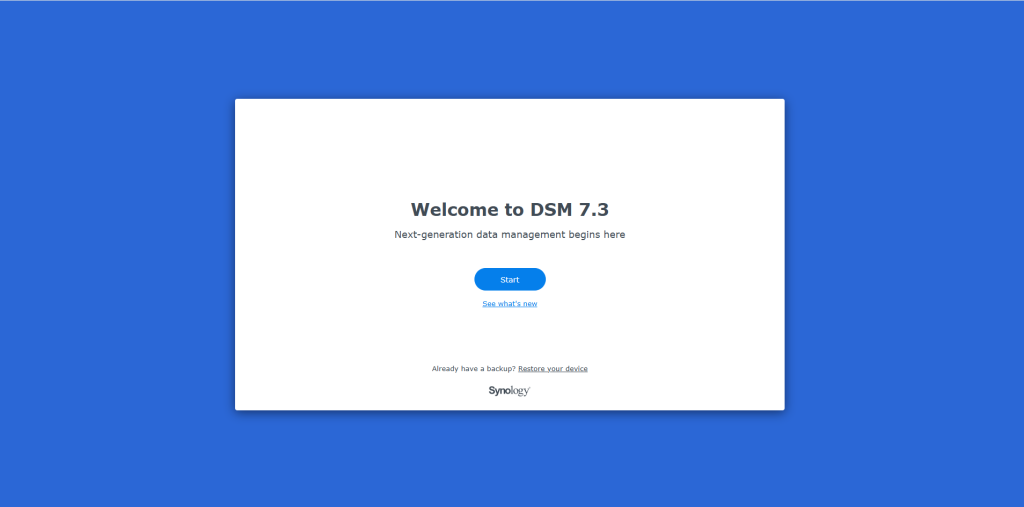
Step 9
This step is very important. so we can connect to the server.
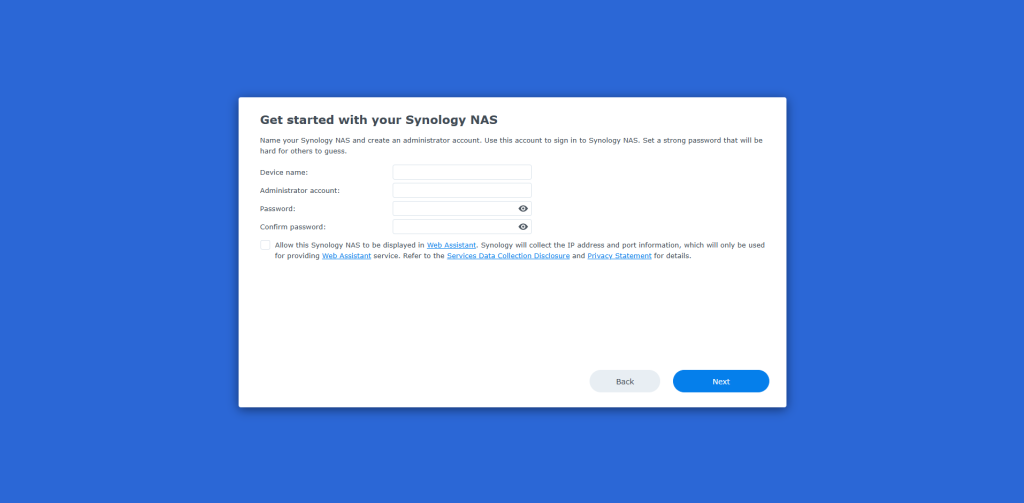
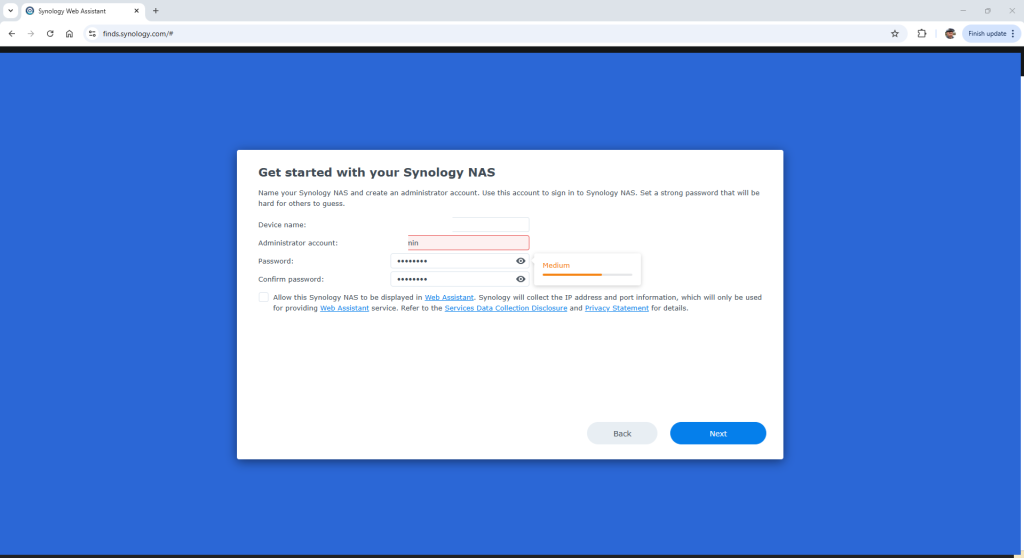
Step 10
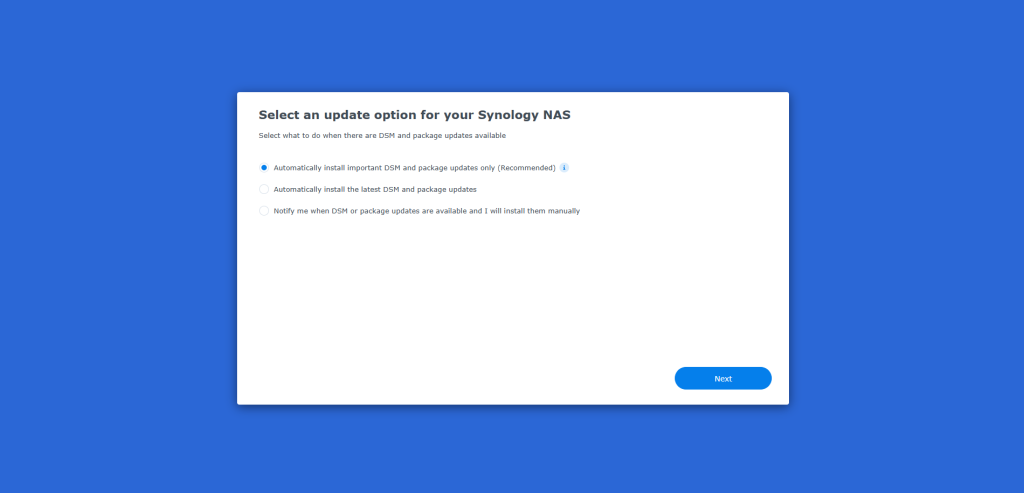
Update option, i set this to automatilicay. that way i dont need to worry about the DSM. the system will just notify me
Step 11
When prompted to create a Synology account, im going to just login here.
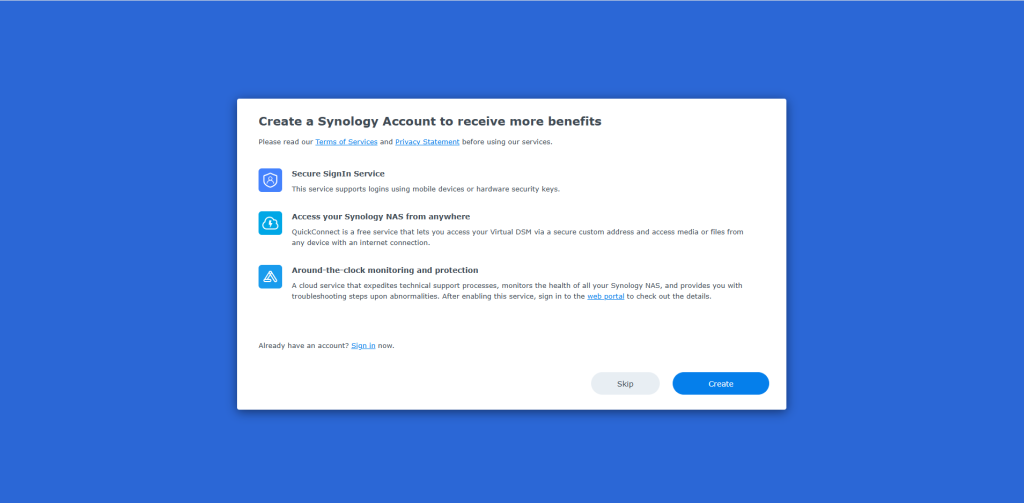
* Note: You can create a Synology account later. If you like.
Step 12
This is really important as i want tobe able to access my server anywhere using the Synology quick connect feature. when complete select submit
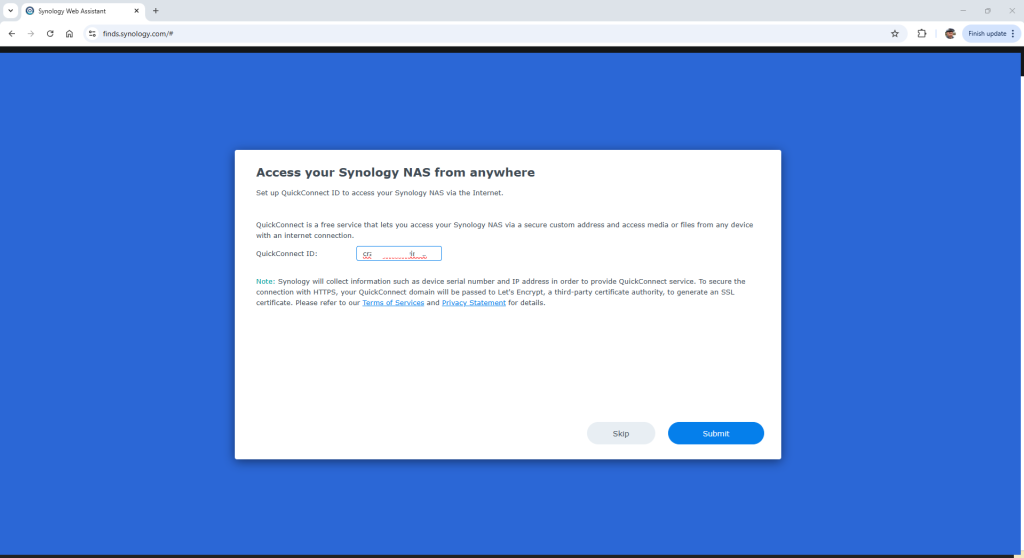
Step 13
Quick connect is now ready.
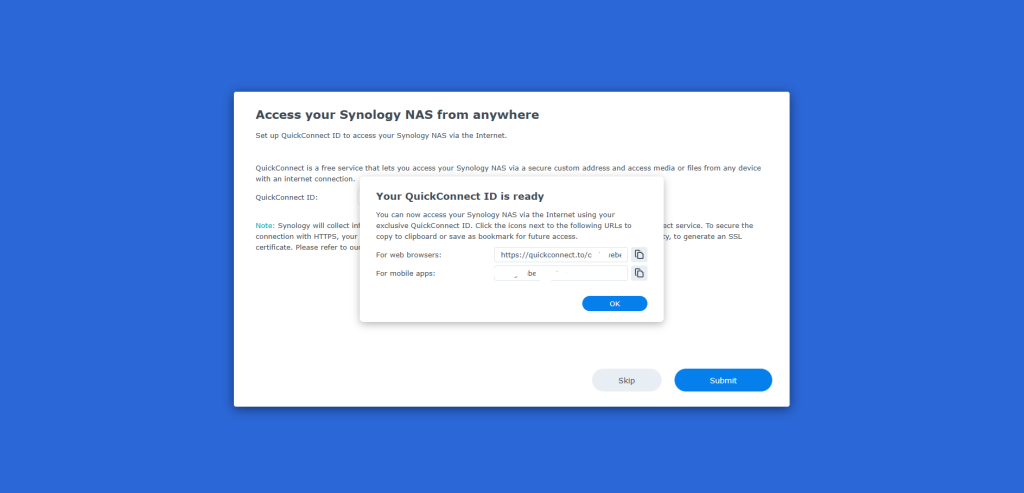
note: Head over to accounts website overview link below to see if the server is on there and added correctly.
https://account.synology.com/en-uk/overview
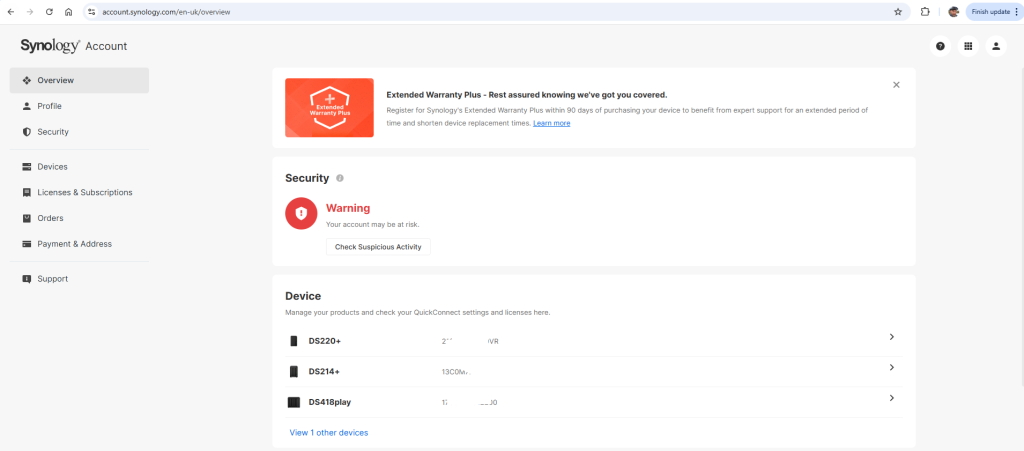
Step 14
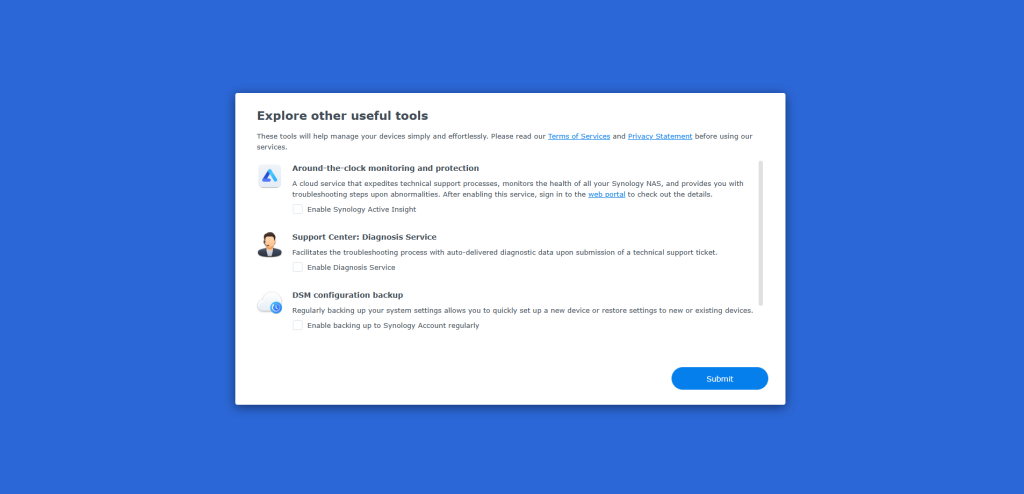
useful tools. im going to just skip this and head over to submit
Step 15
time to login using the account you setup.

Step 16
after login you will be greated with a install page. im going todo these later. this is going tobe a webserver, so probely will not install any of these.
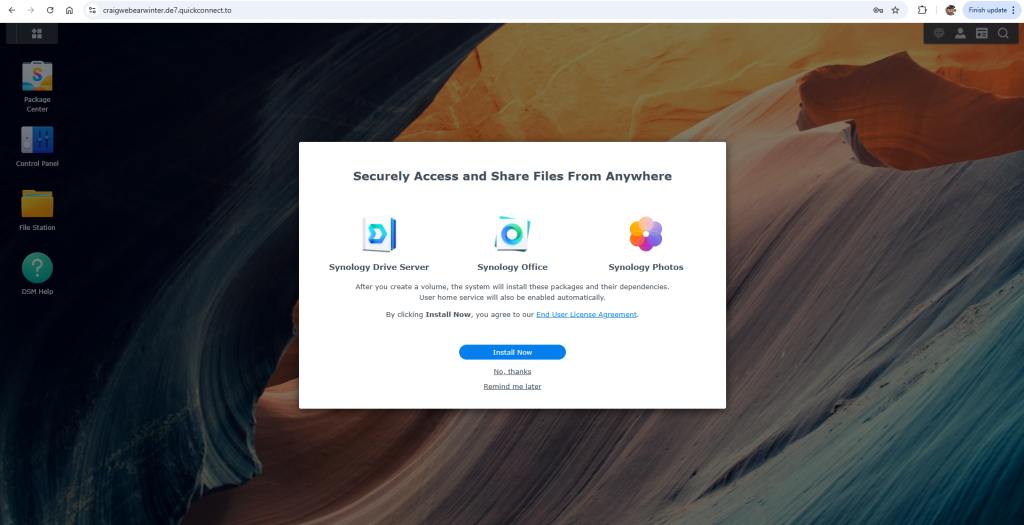
Step 17
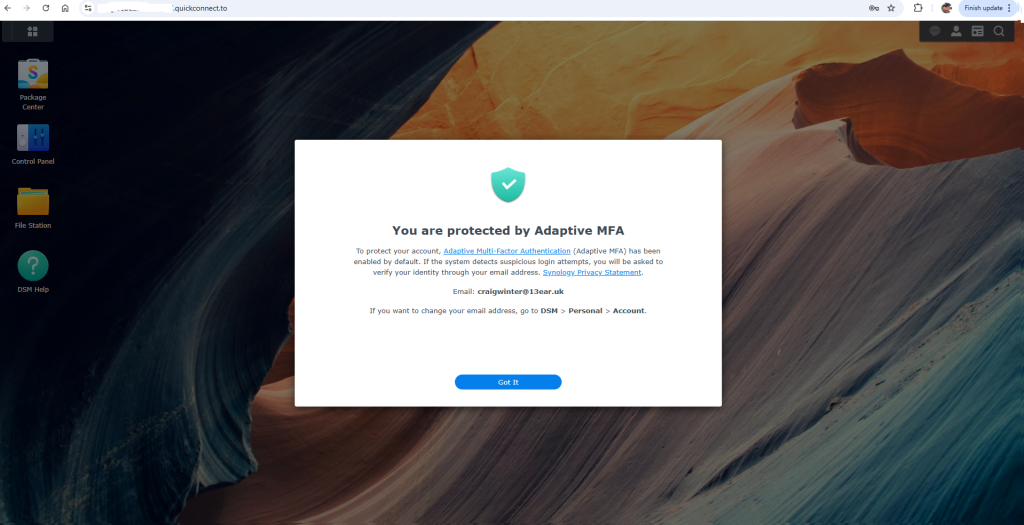
setup 2-factor security. keep your server safe.
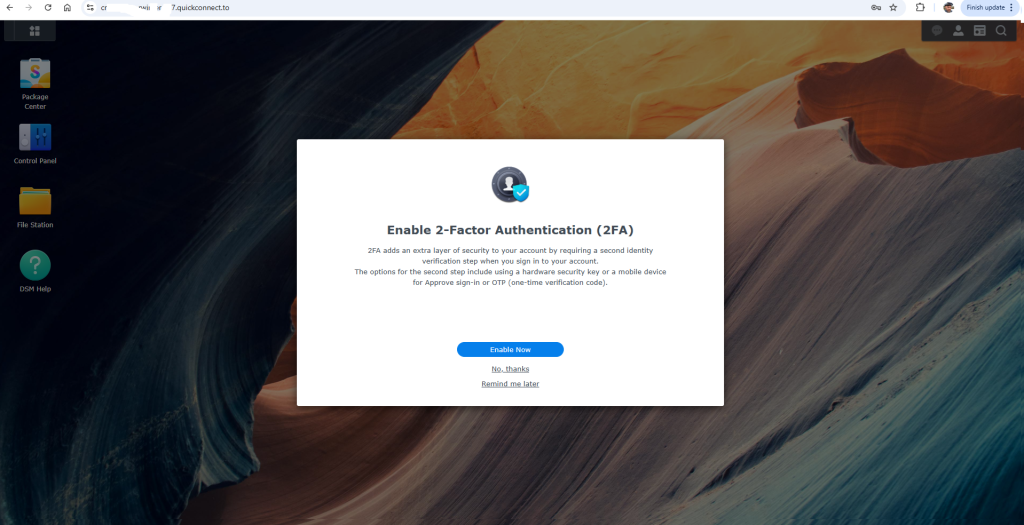
Step 18
information for you to read.
Step 19
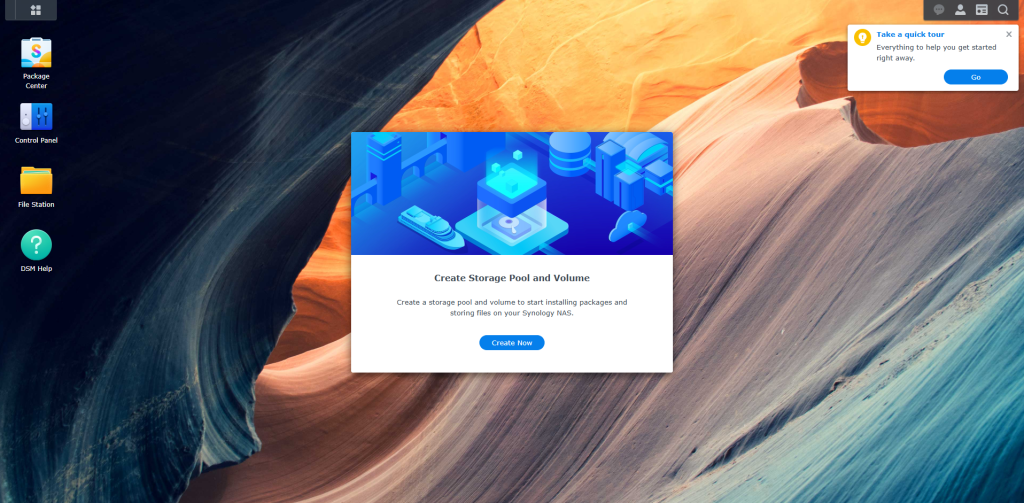
. When prompted, click the Create Now button, to create a Storage pool and a Volume to start installing packages and storing files on your Synology NAS.
Step 20
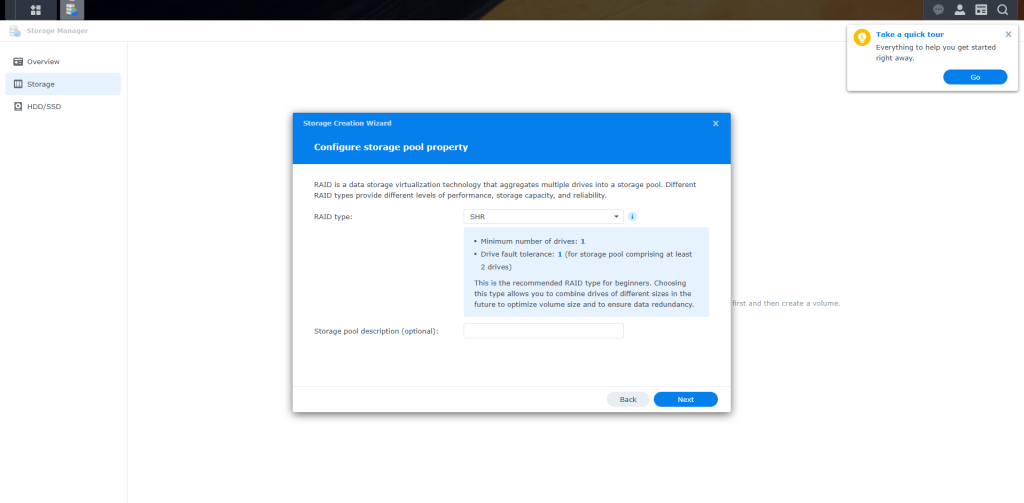
. At the next screen:
a. Leave the RAID Type to SHR (Synology Hybrid RAID), which is the recommended for beginners. (If you want to learn more for the available RAID types, see this article).
b. Type if you want a name for the storage pool and click Next.
Step 20
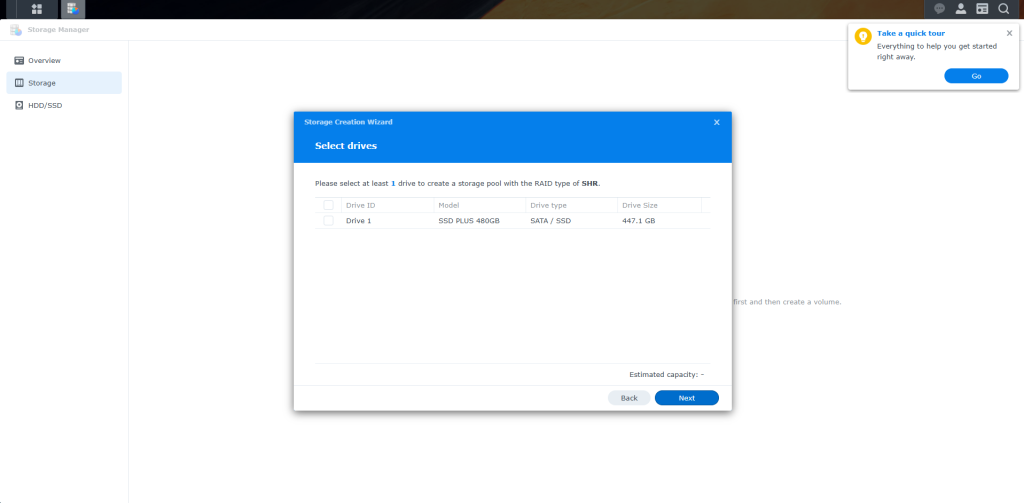
Then assign all the drives (disks) to storage pool, i was abit worried about if the SSD was going tobe recognized but it has been picked up by DSM. so perfect
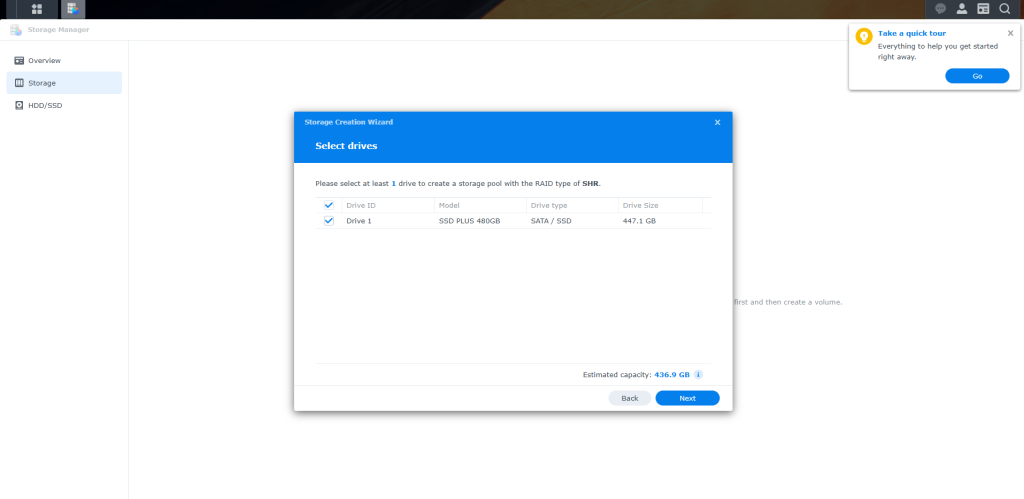
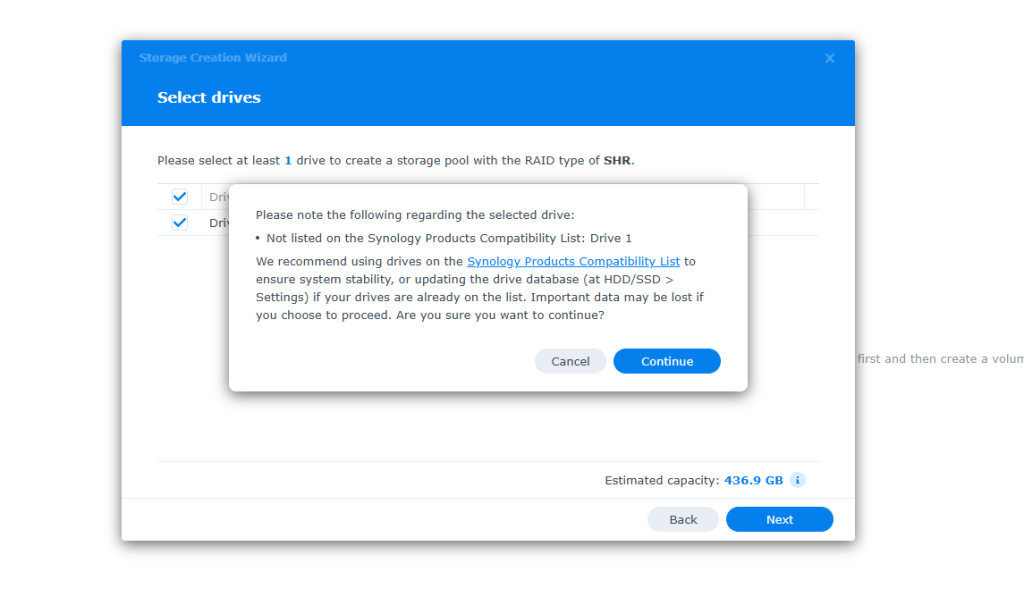
Note compatability list. we not mention that
Step 21
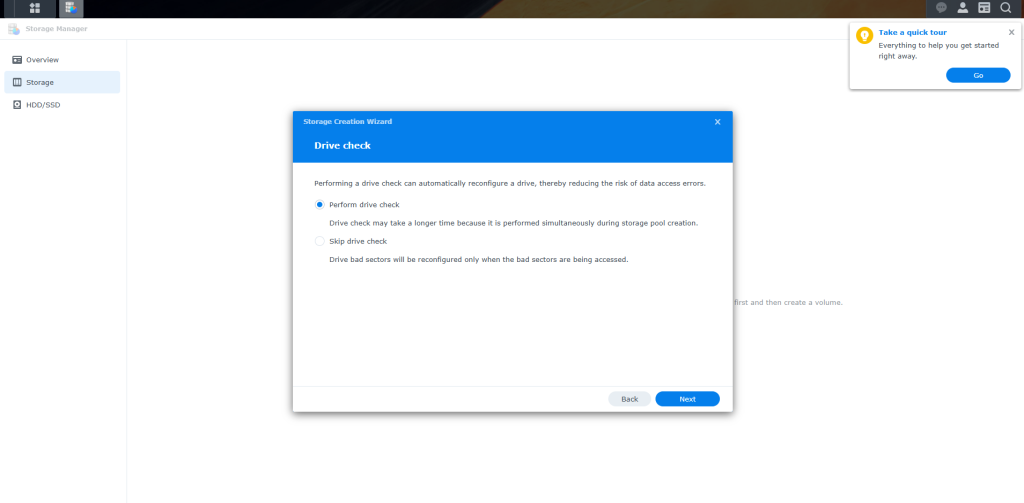
Drive check is important for many reasons, but im going todo this because the drive is second hand and i need it tobe healthy.
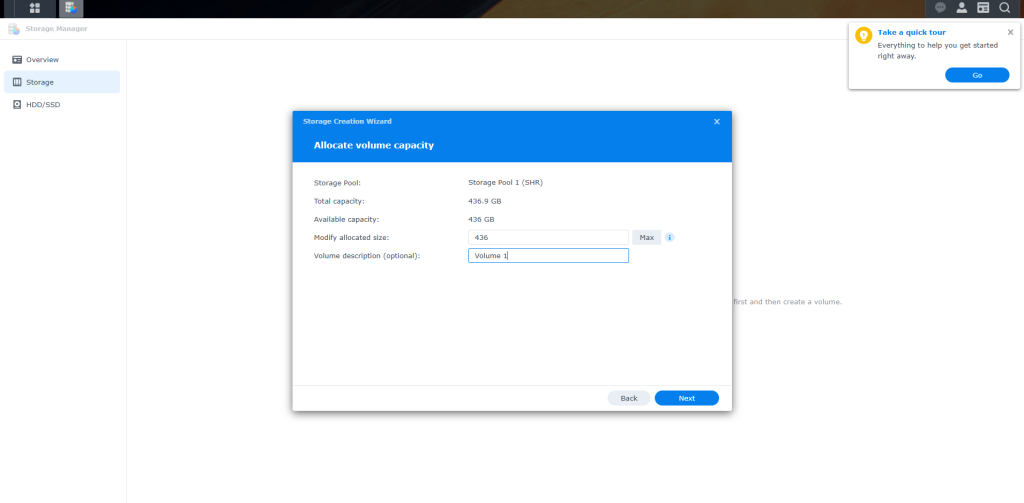
a. Specify the maximum size in GB for the new volume, or click Max to assign the total capacity.
b. Optionally, type a Volume name and click Next.
Step 22
Select max and give the volume 1 name.
Step 23
Select Btrfs for the file system.
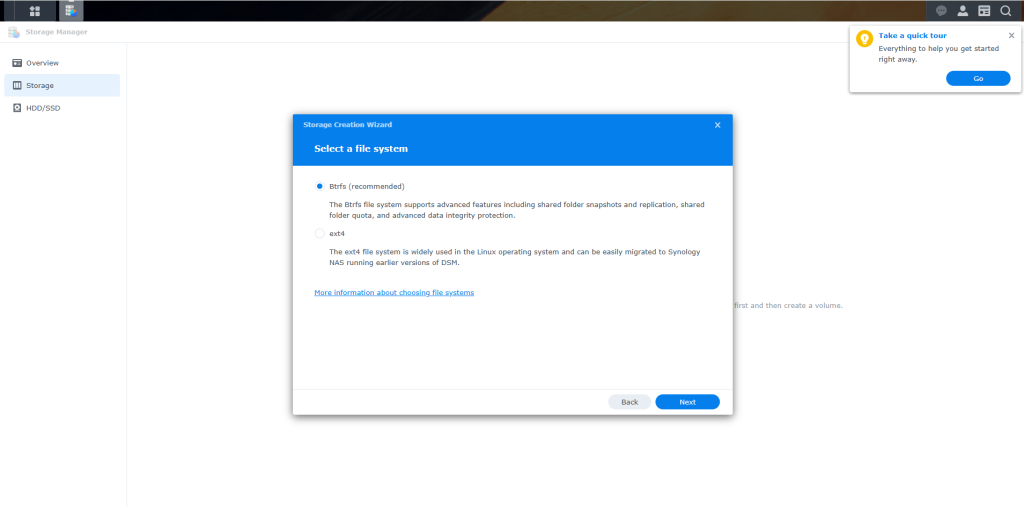
Step 24
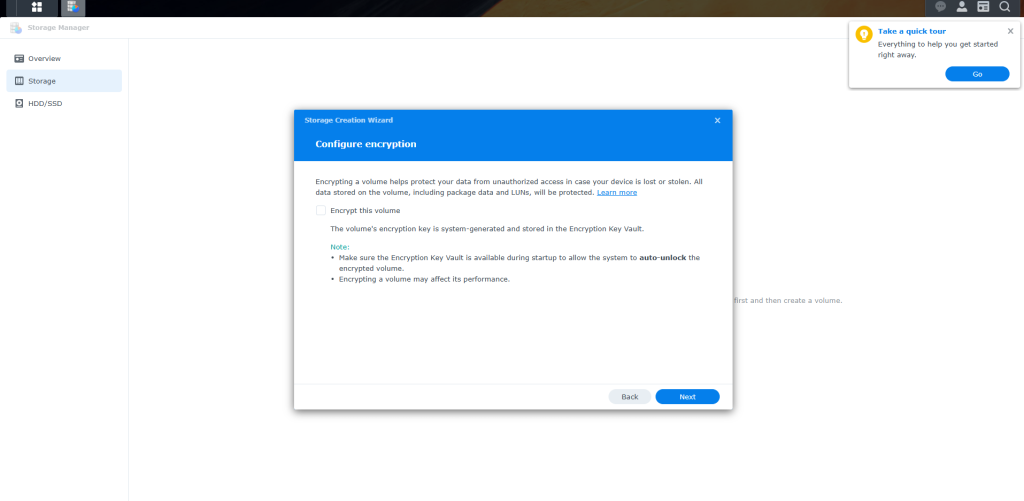
if you want to encript your drive now is the time to setup that feature
Step 25
. Review your settings and click Apply.
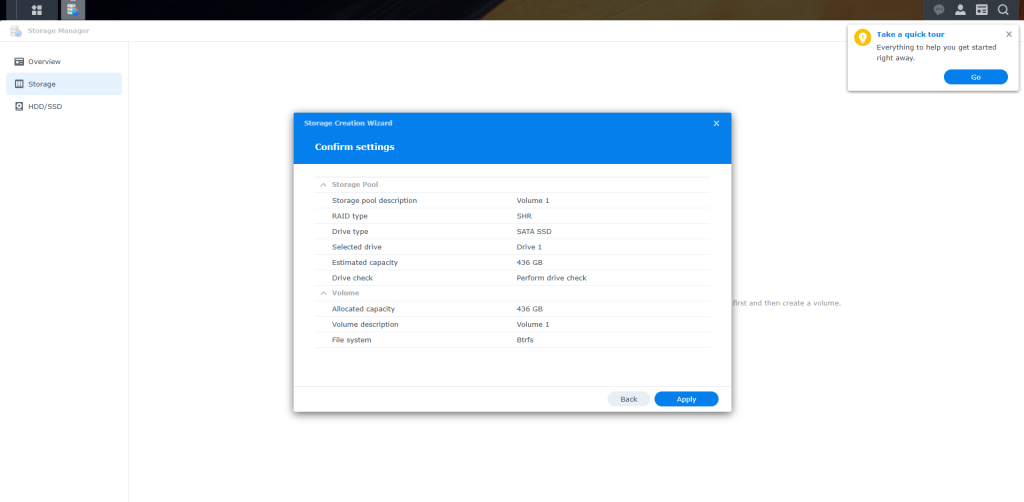
Step 26
Finally, click OK to erase all data on the disks and then wait until the storage pool and volume are created.
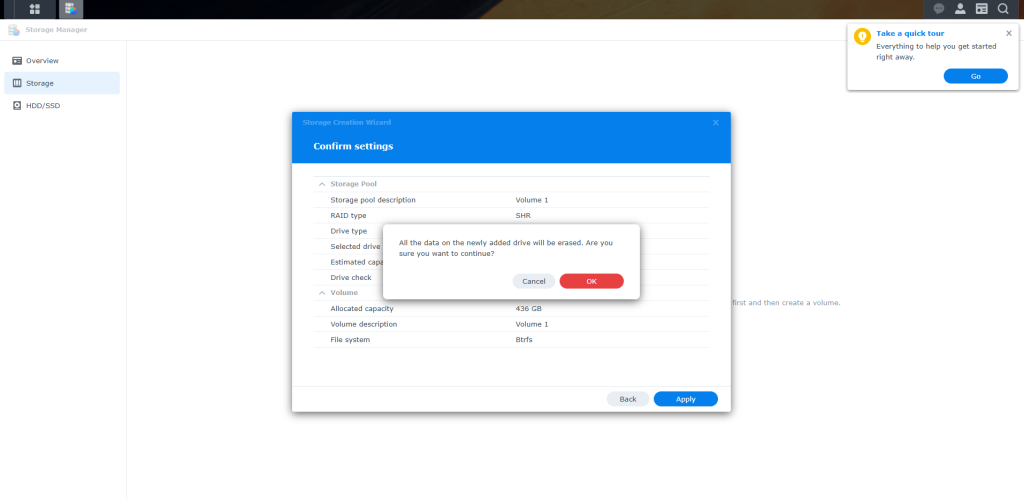
OverView
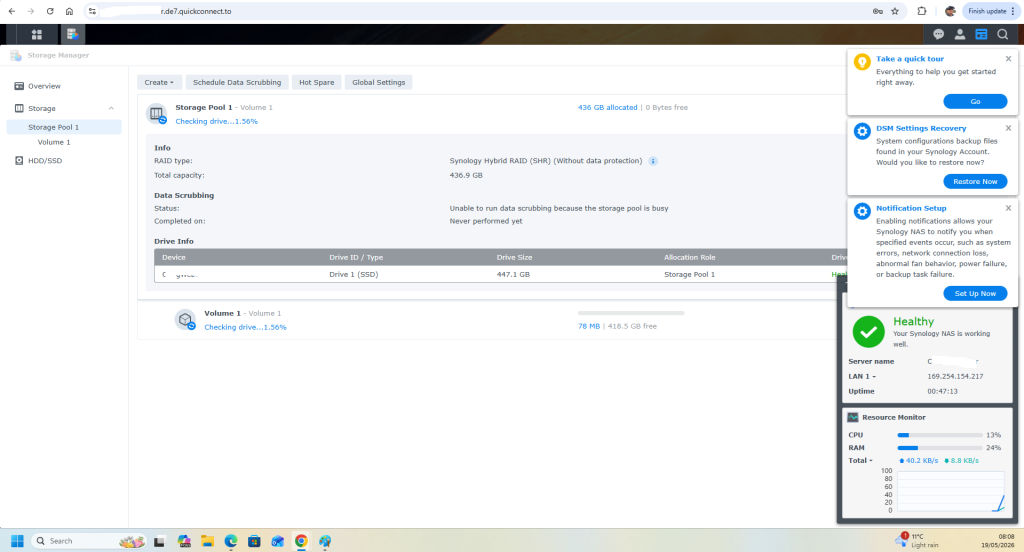
now the system is setup and the drive is being checks thats now complete for the initial setup. some other things i have setup below.
turn off power lights here
Synology Container manager here
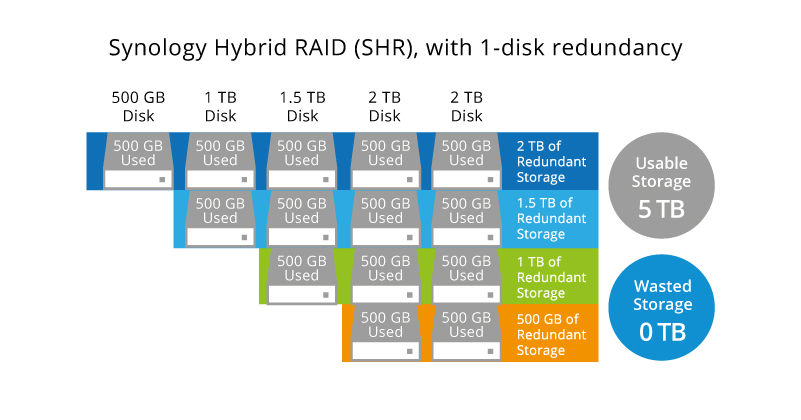
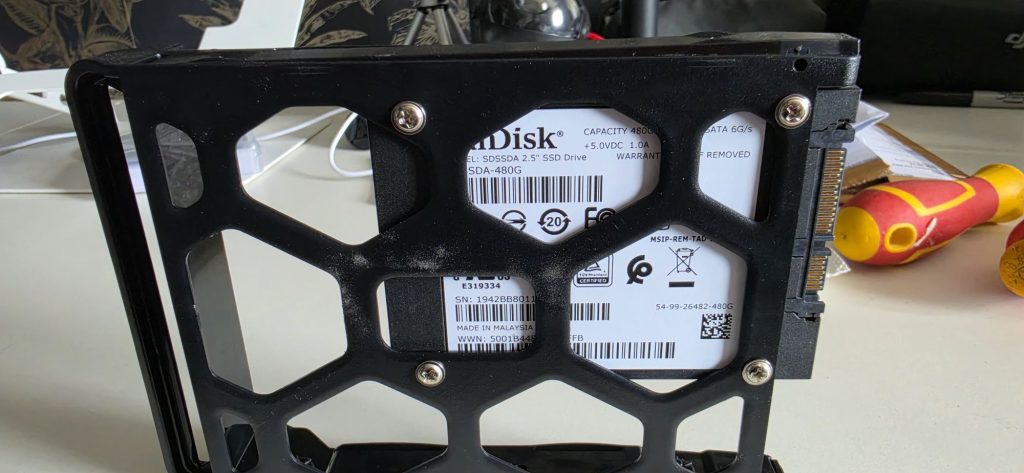
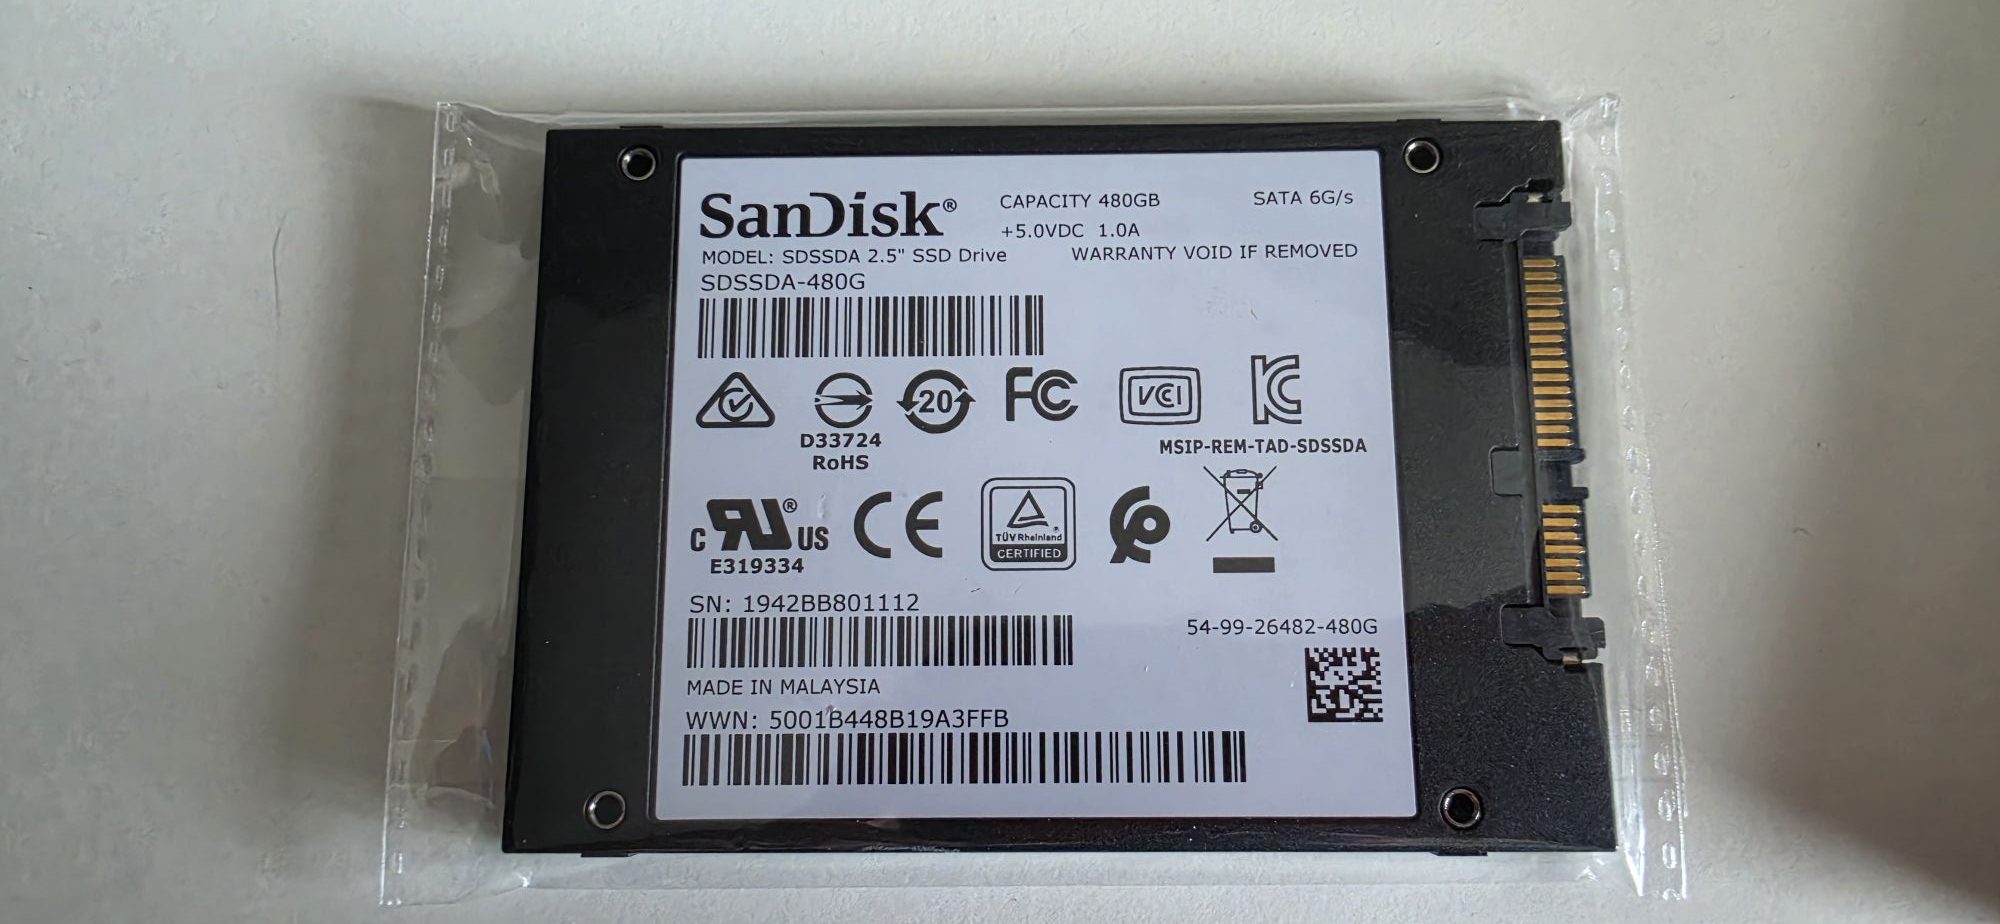
So i purchased a second SSD i now have this install and working as i hoped it would. There was one small thing when installing the drives, the 3.5 drive holders dont fit so not to break them i have taken 2 side off each the caddys
Storage pool expanding Expand a single drive
Setup Portainer WordPress 2026
1 x
512GB / 500GB / 480GBSATA 2.5
Memory upgrade
Crucial 8GB DDR4 2666 260-Pin SO-DIMM Laptop Memory Model RAM
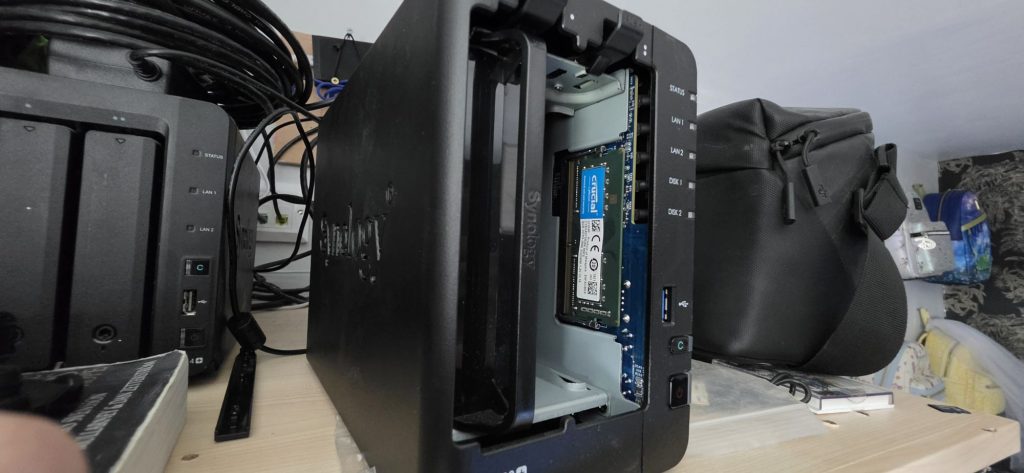
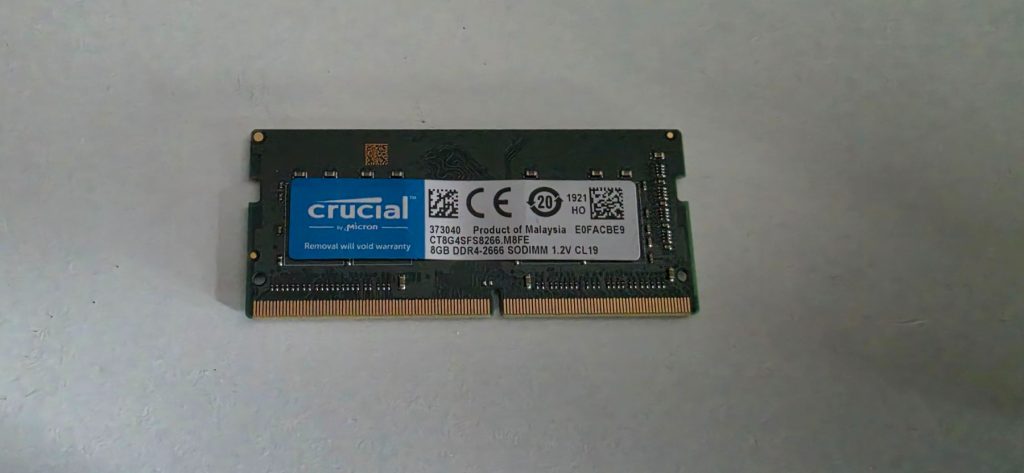
8GB is really the most i can afford on this project, but the memory is easy enough to install. There is a holding arm on each side. So ppush the memory in as far as will go gently and Then push flat to the surface. Both sides will click into place. then turn on the Server to test it is picking up the memory.
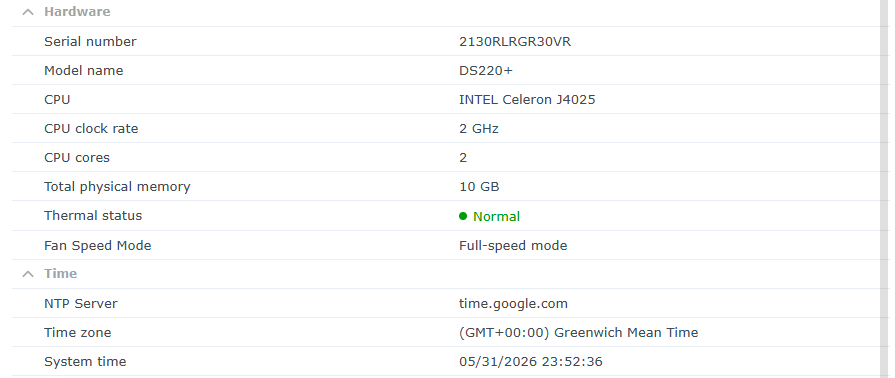
As you can see above the memory is registered and working.