


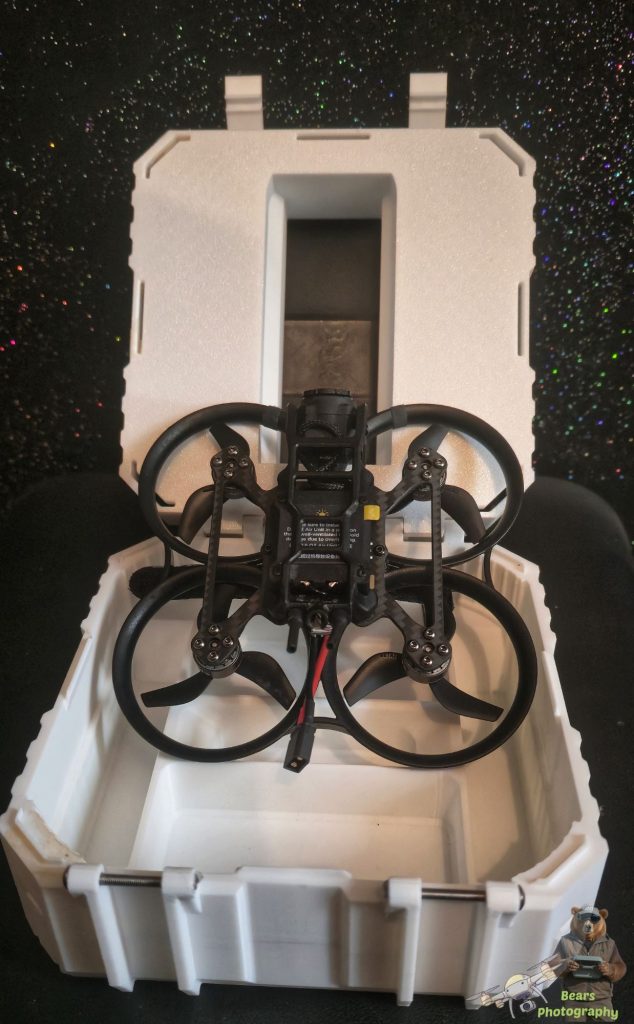
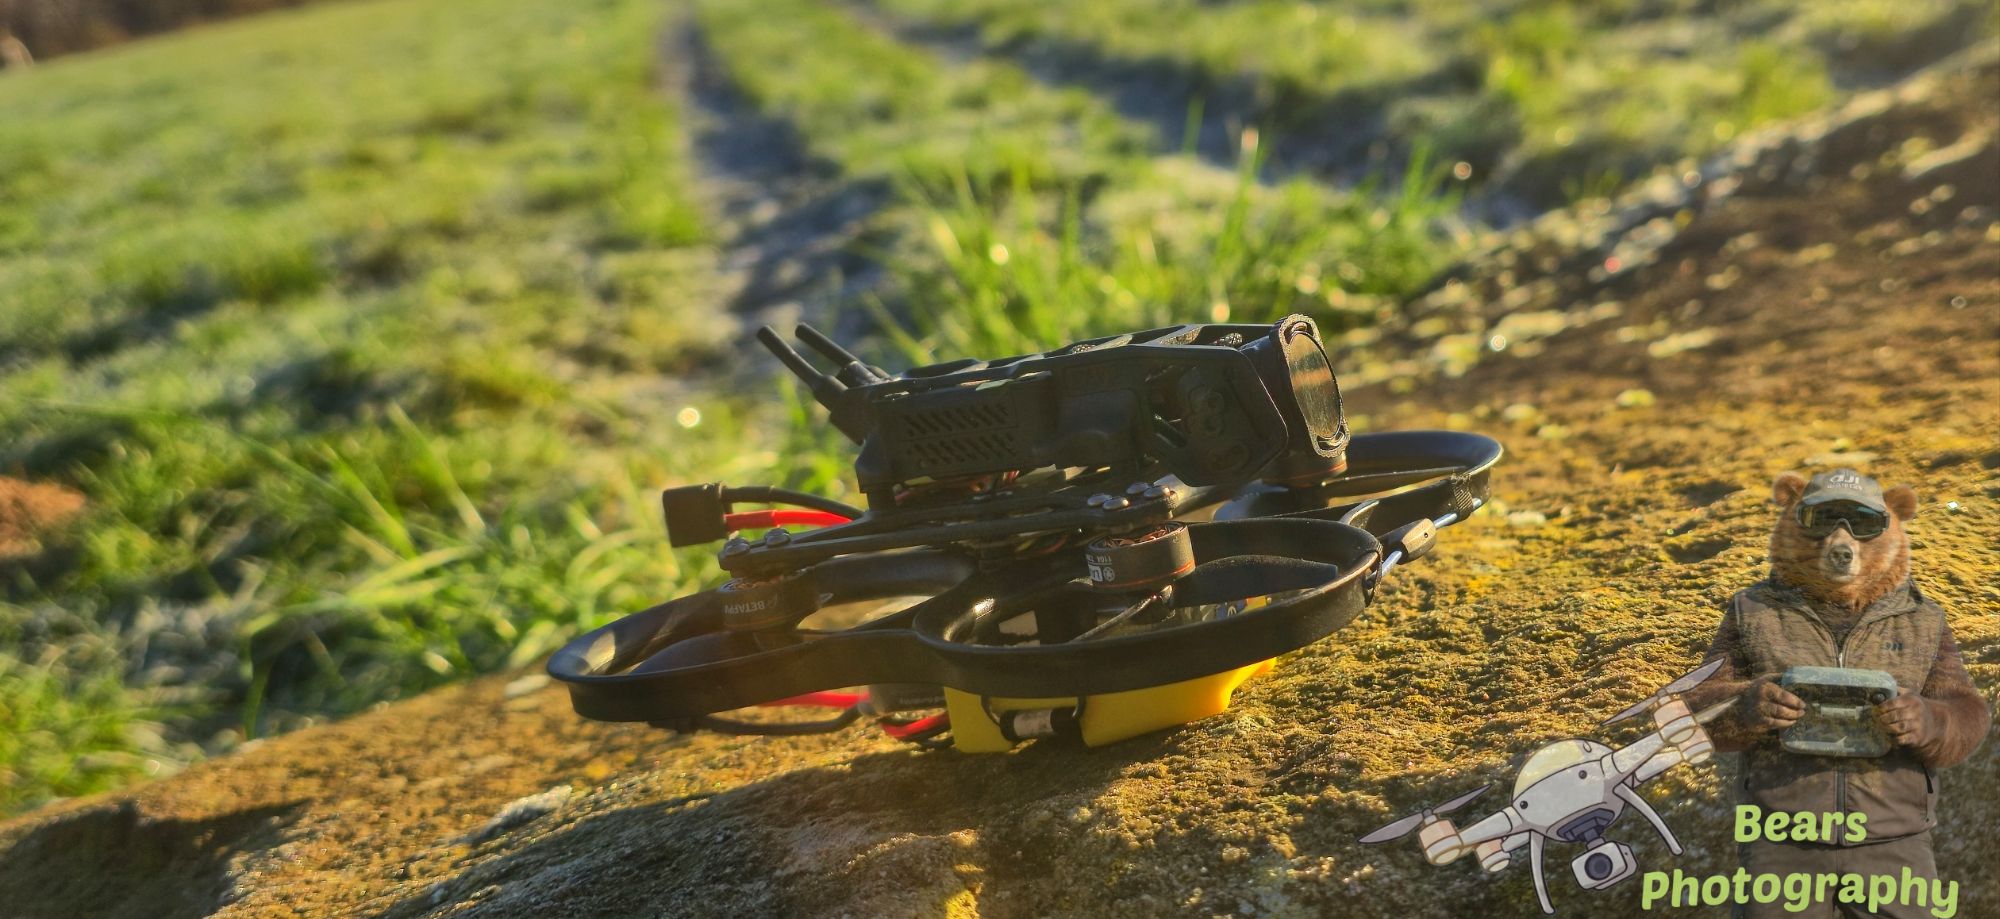
BetaFPV Pavo20 Pro
So i purchased this Pavo 20 pro and GEPRC Vapor D5 from a friend who has this setup using the TBS system, Now i have it i intend to use the Pavo with both my DJI Goggles 3 and the remote. Todo this i need to put in the SBUS cable, Setup in Betaflight. I thought to document this as it can be a long process and cant really find anything online as a how to for anyone wanting todo this themselves.
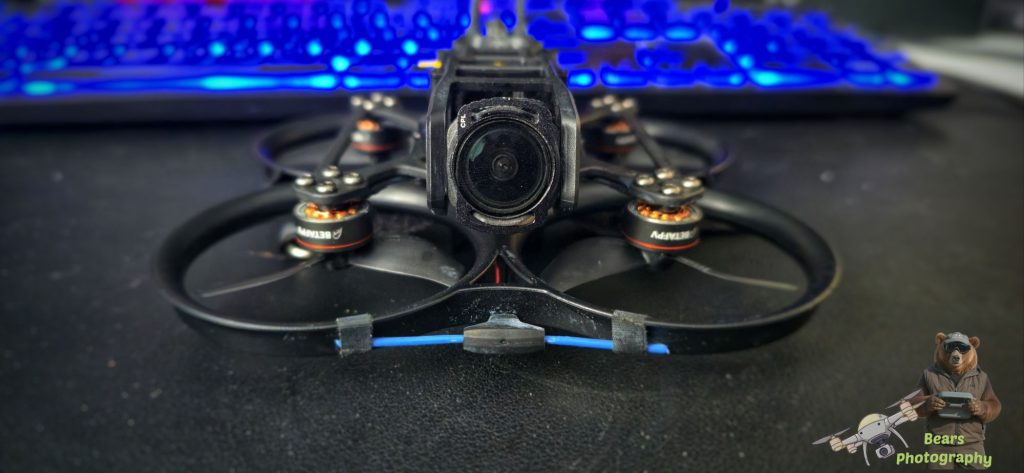
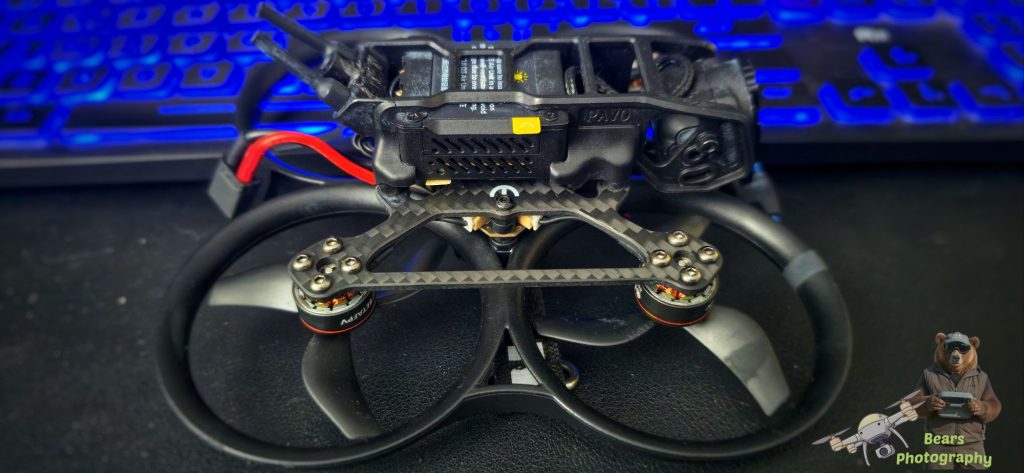
Abit Information About the Pavo pro 20
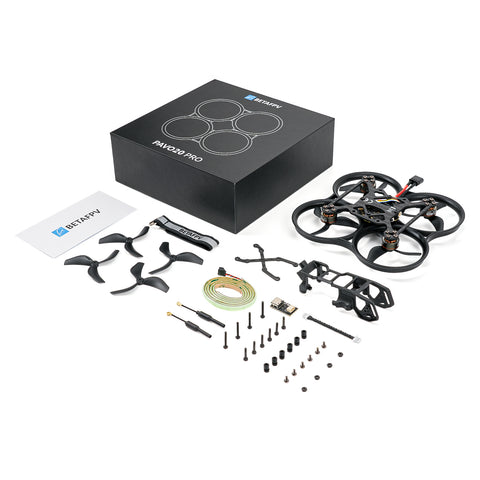
Package
Pavo20 Pro Brushless Whoop Quadcopter (O3 PNP Version)
- 1 * Pavo20 Pro Brushless Whoop Quadcopter
- 1 * O3 Air Unit Bracket
- 1 * HD VTX Bracket Screw Package
- 1 * Pavo Series COB LED Strip Accessory Kit
- 4 * Gemfan 2218 3-Blade Propellers (1.5mm Shaft)
- 1 * PCBA | Type-C Adapter Board
- 1 * 4Pin Adapter Cable
Specifications
| Pavo20 Pro (O3 PNP) | Pavo20 Pro (O4 Pro PNP) | |
| Wheelbase | 93.7mm | |
| Battery Connector | XT30 | |
| Battery Slot | 20mm * unlimited height | |
| FC | F4 2-3S 20A AIO FC V1 | |
| Frame | Pavo20 Pro Brushless Frame | |
| Motor | LAVA Series 1104 | 7200KV Brushless Motors | |
| Props | Gemfan 2218 3-Blade Propellers (1.5mm Shaft) | |
| Flight Time | 6’40” (with LAVA Series 3S 550mAh Battery) | |
| Camera Filter Installation | Vertical | |
| RX Version | ELRS, TBS, SBUS | ELRS, SBUS |
| HD VTX Bracket | O3 Air Unit Bracket | O4 Air Unit Pro Bracket |
| Weight | 66.3g (O3 PNP Version) | 71g (O4 Pro PNP Version) |
| Supported VTX | DJI O3 Air Unit/ Caddx Vista Kit / RunCam Link (with O3 Air Unit Bracket) | DJI O4 Air Unit Pro (with O4 Air Unit Pro Bracket) |
| Recommended Filter | ND Filter for O3 Camera | ND Filter for O4 Pro Camera |
| Recommended Battery | LAVA 3S 450mAh 75C Battery, LAVA 3S 550mAh 75C Battery, 3S 650mAh Battery | |
Bullet Points
- Lightweight Powerhouse: Weighing under 150g, this 2.2″ pocket-size cinewhoop is the perfect gateway for DJI pilots to dive into FPV—now with expanded DJI O4 Air Unit Pro compatibility.
- Freestyle-Optimized Propulsion: The GF 2218 3-Blade Props (co-developed with Gemfan) and LAVA 1104 | 7200KV Brushless Motors offers unparalleled thrust, while the aerodynamic frame adds an 8–11% boost for aggressive maneuvers.
- Extended Flight Performance: Powered by the LAVA 3S 550mAh 75C Battery, enjoy up to 6’40” flight time.
- Cinematic Stability: The injection-molded HD VTX and Pavo Series’ Classic Rubber Damper ensures jitter-free footage, while the dual cam fixed holes for O3/O4 Pro wide-angle shooting and optimized anntenna holder gurantees every frame you captured is perfect.
- Flight Controller: The ultra-light F4 2-3S 20A AIO FC V1 (5.92g) is optimized for HD digital VTX. Its improved computing power and rapid response make it an ideal choice for Freestyle.
- Modular HD VTX Bracket System: Easily swap between the O3 Air Unit Bracket and O4 Air Unit Pro Bracket to accommodate your preferred HD VTX.
- ND Filter Compatibility: ND/UV/CPL filters for O3 and ND/UV filters for O4 Pro let you master any lighting condition.
Lets get started with setting up and configuring the pavo 20 pro.
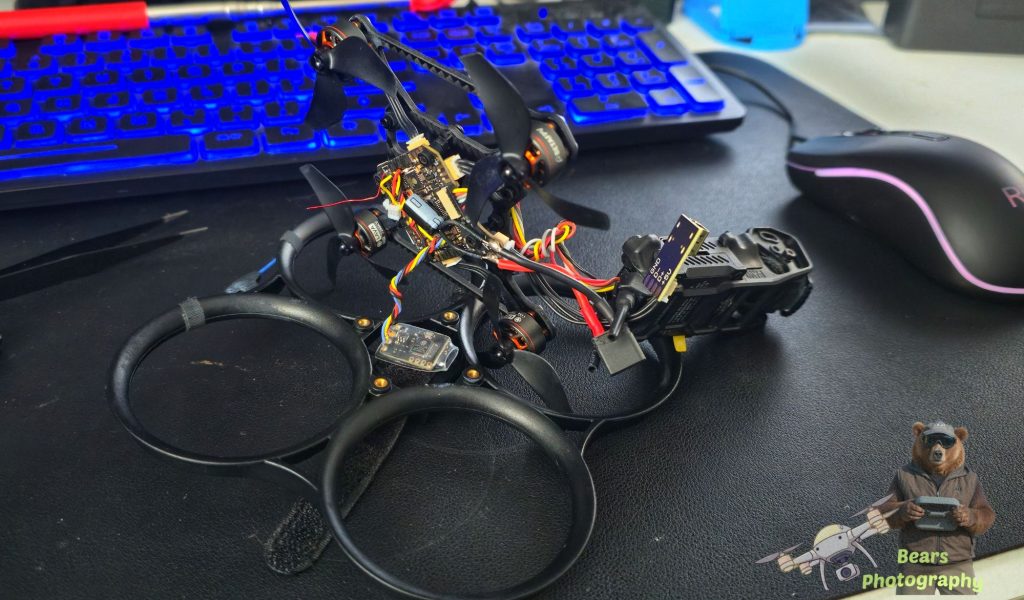
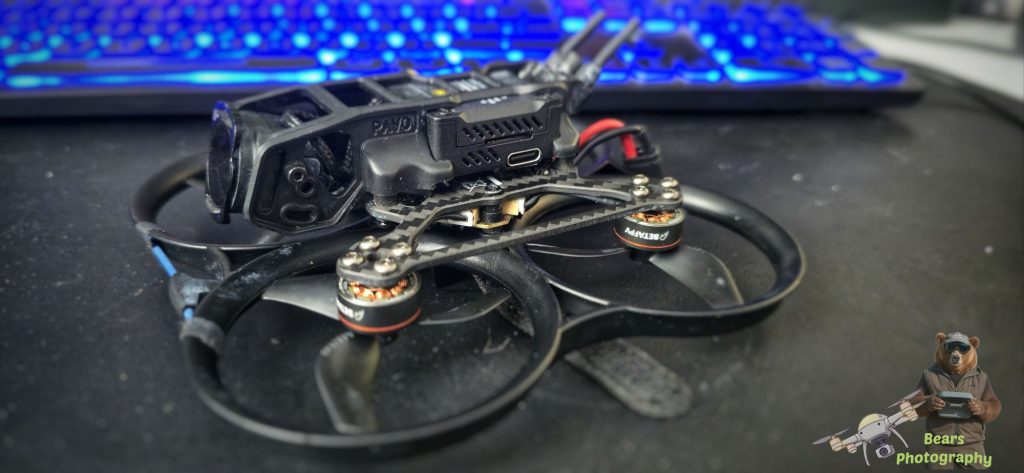
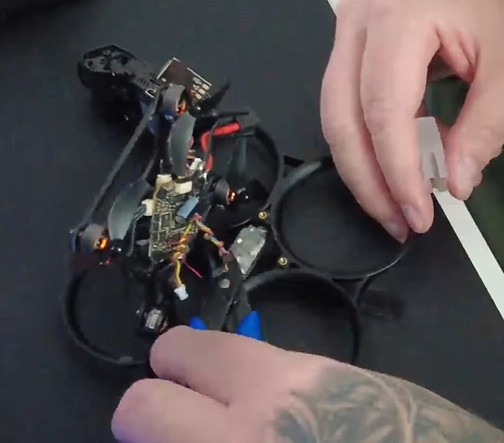
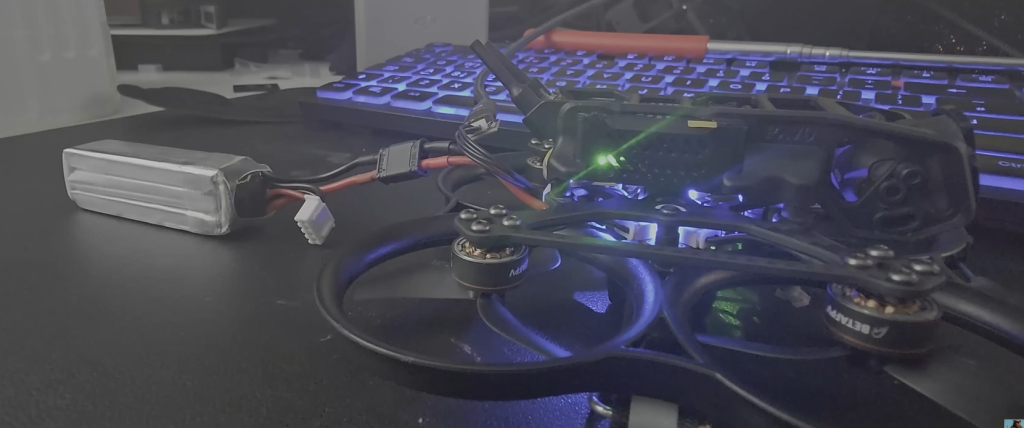
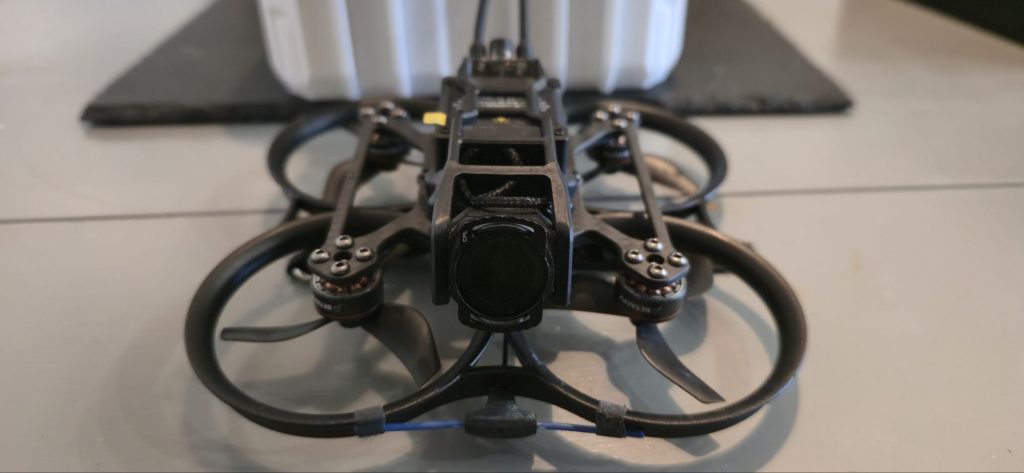
First of lets Install the The SBUS cable. This turned out tobe interesting as i needed to remove 4 screws. at that point all the part came away from the Pavo frame.
While we have the Pavo apart im going to cut the red cable to the TBS system, The Reason for this i had problems when i did the babyhawk so to stop any issues. i will be taking this TBS system out soon and replacing it with a GPS module
Now i have put the Pavo back together, time to load up BetaFlight, instead of using the software that you can download, I decided to use the Web App in Microsoft Edge Link Here
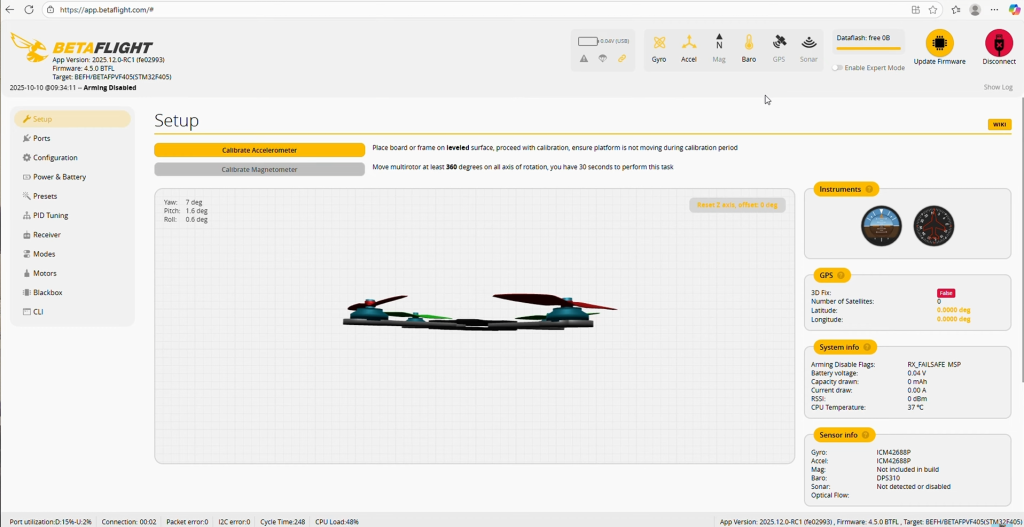
Worked out Perfect, I was able to Setup the Pavo no issues this way however there is no OSD Menu in the web Version.
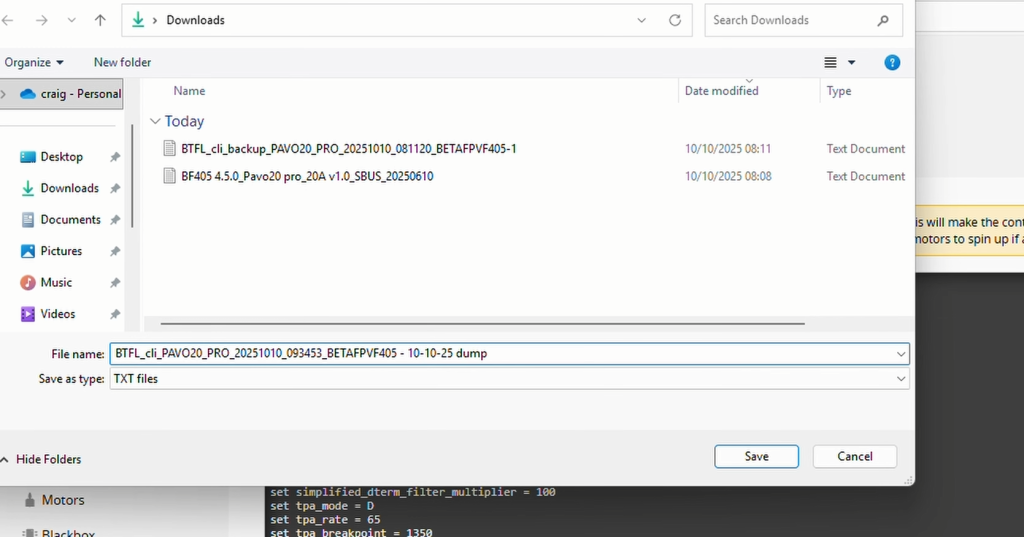
So before we do anything we need to create to files DUMP ALL and DIFF ALL
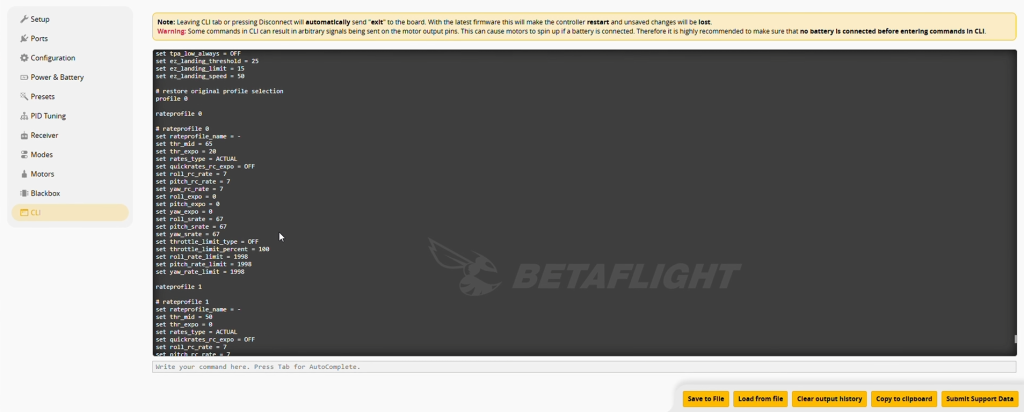
Type in Dump all and then save the output. remember to Clear output History and do the same for Diff all and save. The reason for this is the files you create saves all the Settings from your Pavos ESC.
Now we have done this we can start to change the settings to our likings.
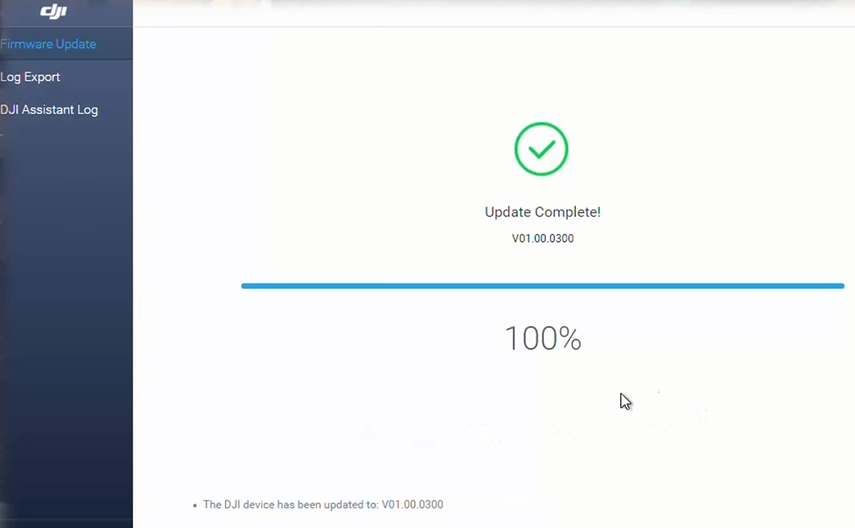
At this stage remember to update your DJI Software. my Pavo has the DJI 03 Airunit
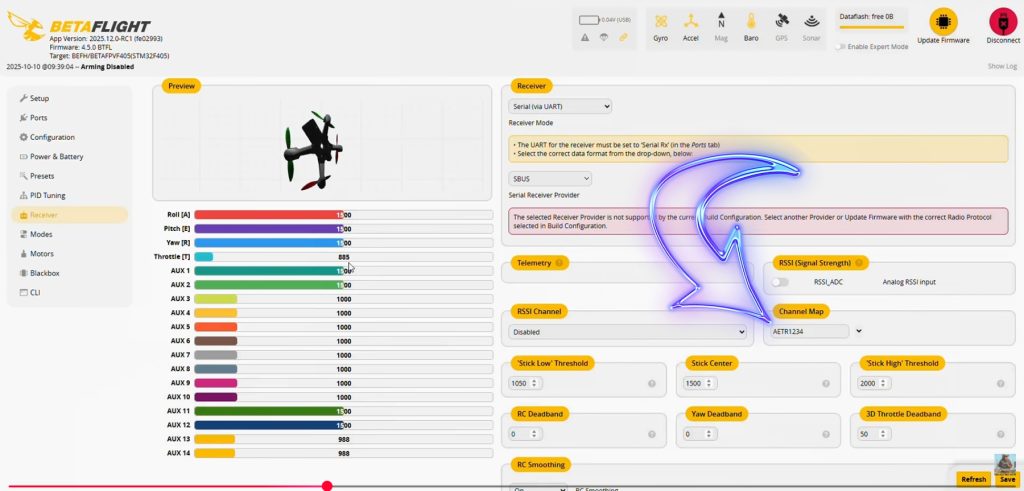
Head over to Ports
So now we need to change the UART from UARTt 1 to UART 5.
Remember to Save and reboot.

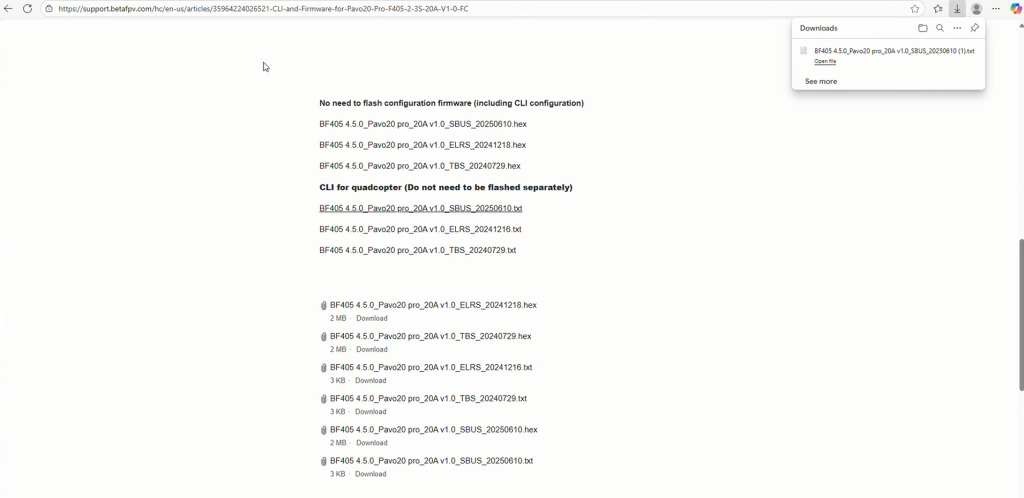
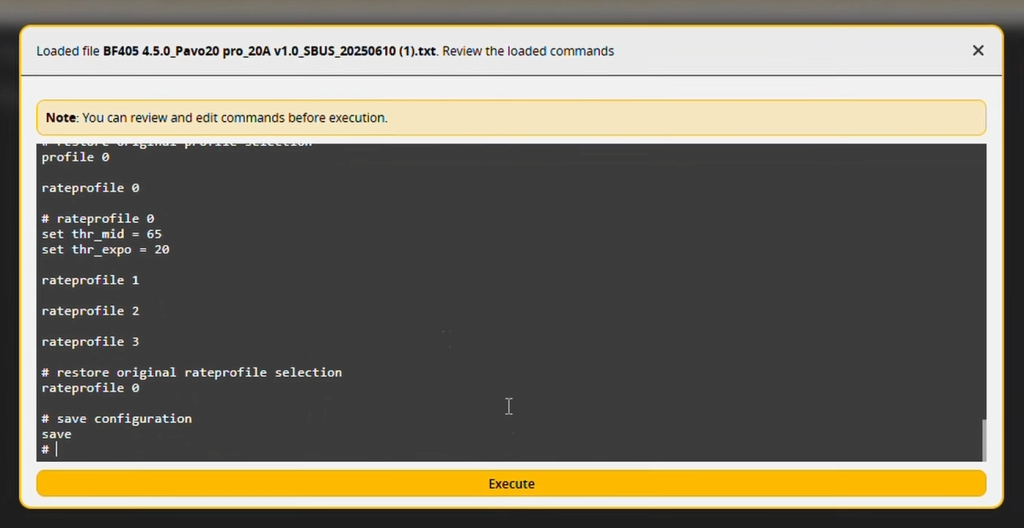
Now we need to download the CLI File.
Here is the link to BETAFPV page
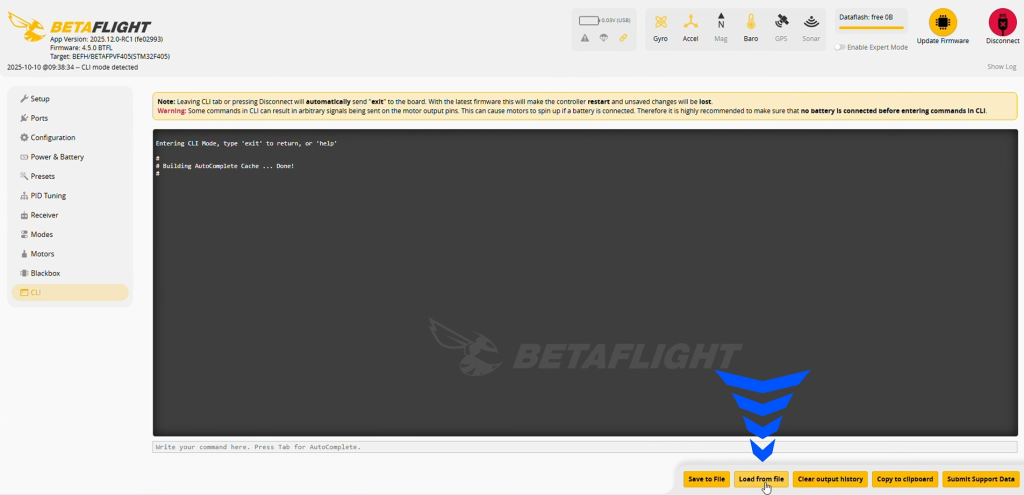
Now you have downloaded the CLI text file we need to upload the file to our PAVO
Remember to Execute
Install a battery on the Pavo and Bind the pavo to your Goggles and remote.
Now our Goggle and remote are bound to the Pavo you should have movement on the Receiver Roll/Pitch/Throttle
Maksure your channel map is set correctly. I have mine set to AETR1234.
And remember to save again
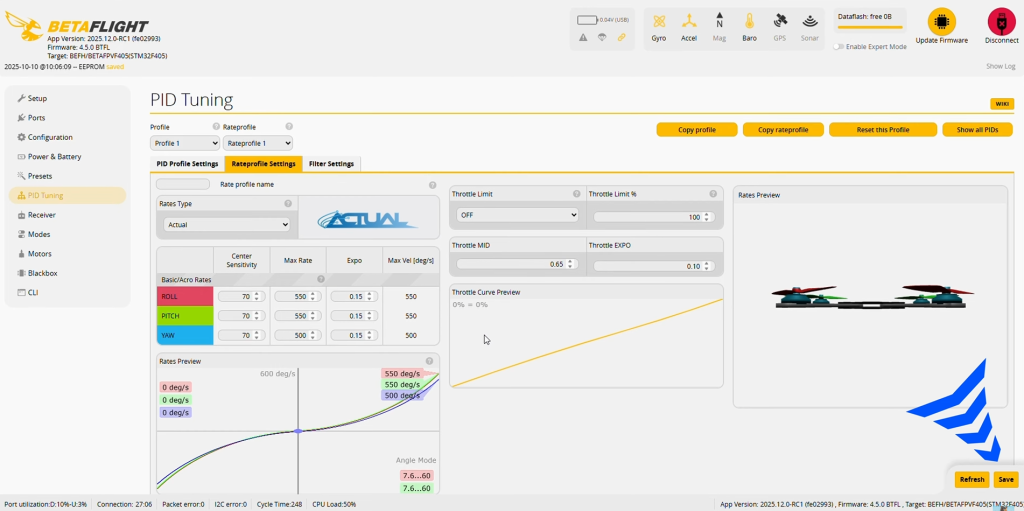
Now head over to PID Tuning. This is just a Guess at this point until i fly the Pavo. after imputing your setting under the Rate profile Settings for Actual rates.
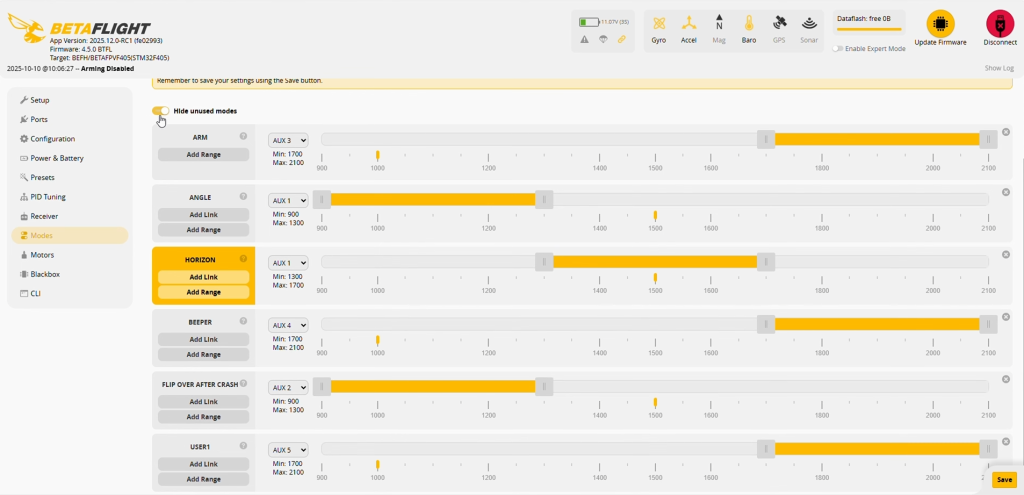
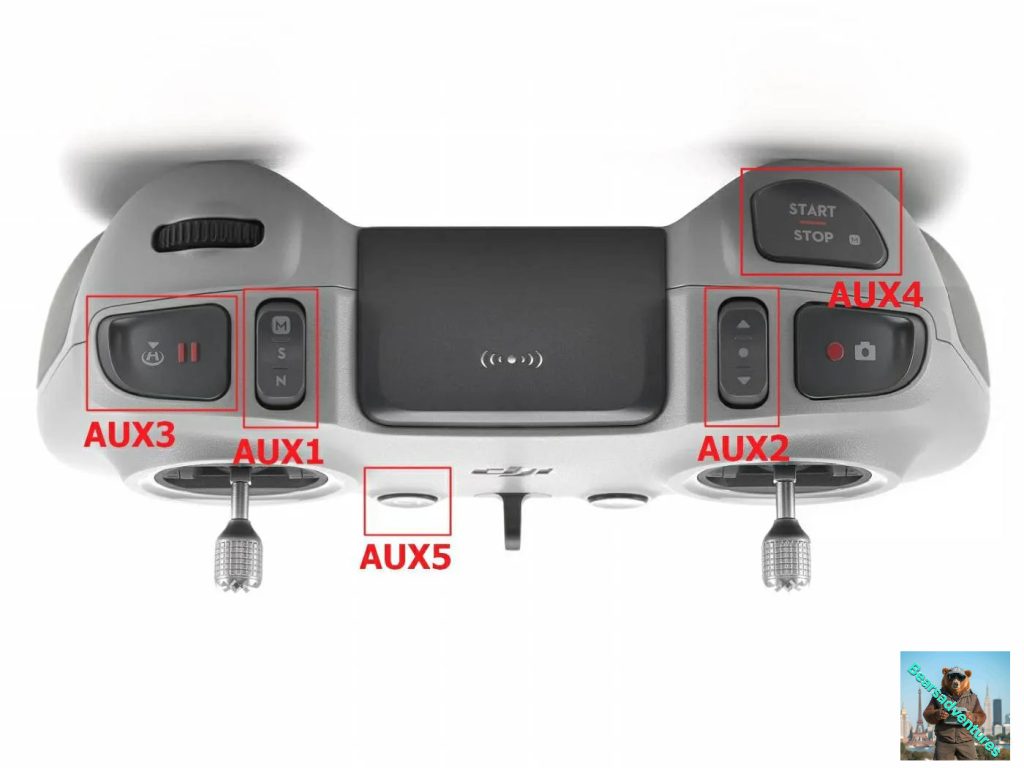
These are my Remote button settings
AUX1 – Angle / Air Mode
AUX2 – ARM / DISARM
AUX4 – Beeper
AUX5 – Flip over after crash
Remember to save and reboot
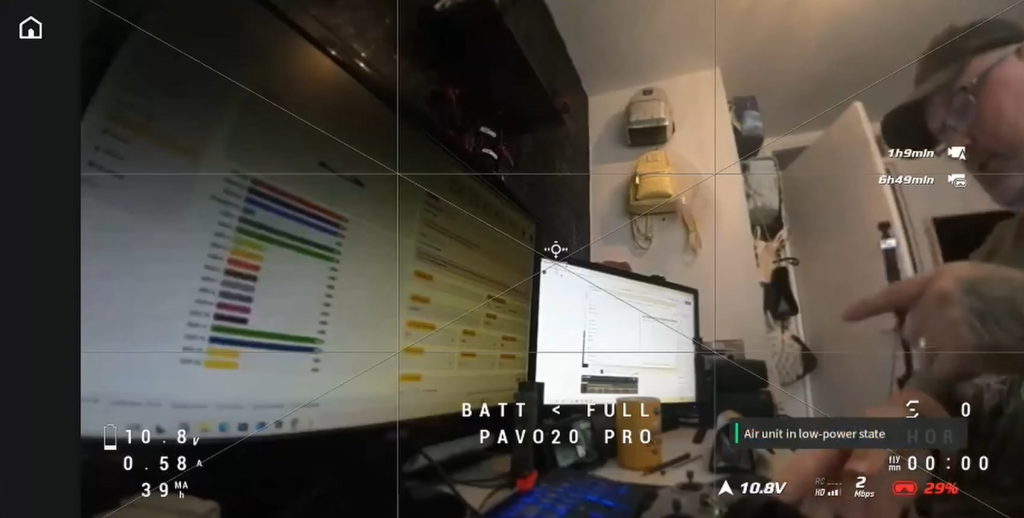
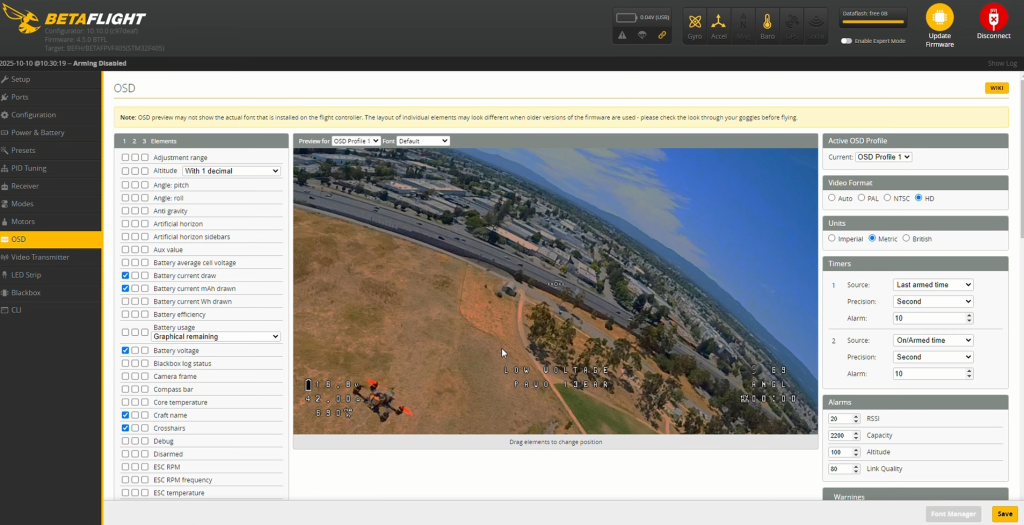
OSD (On Screen Display)
just looking at this quickly i will be going into more detail when i setup the GPS. Everything looks ok where everything is ATM. I have removed Crosshair, im going to make a video on safety lines as guides so please return or subscribe to my youtube.
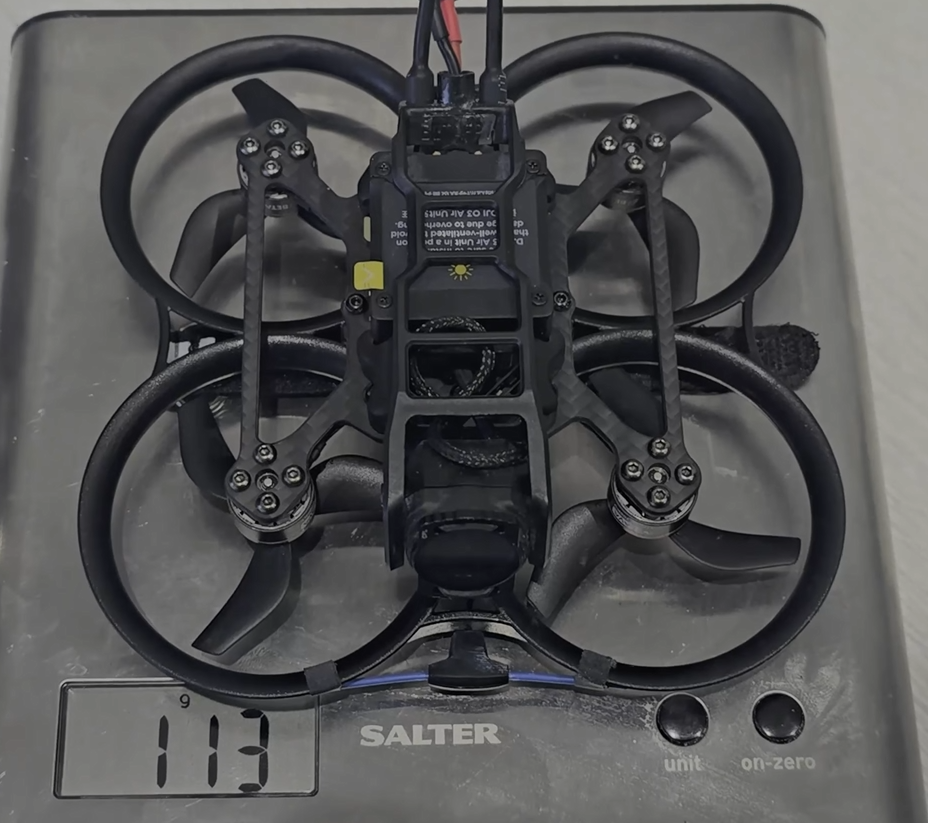
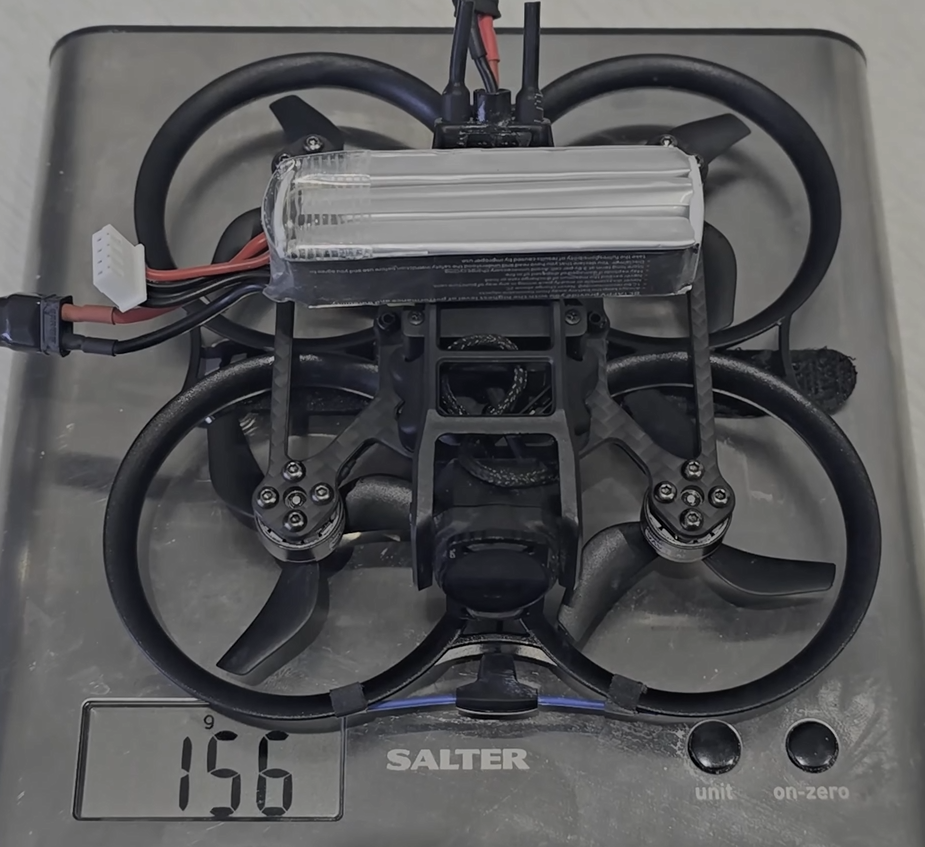
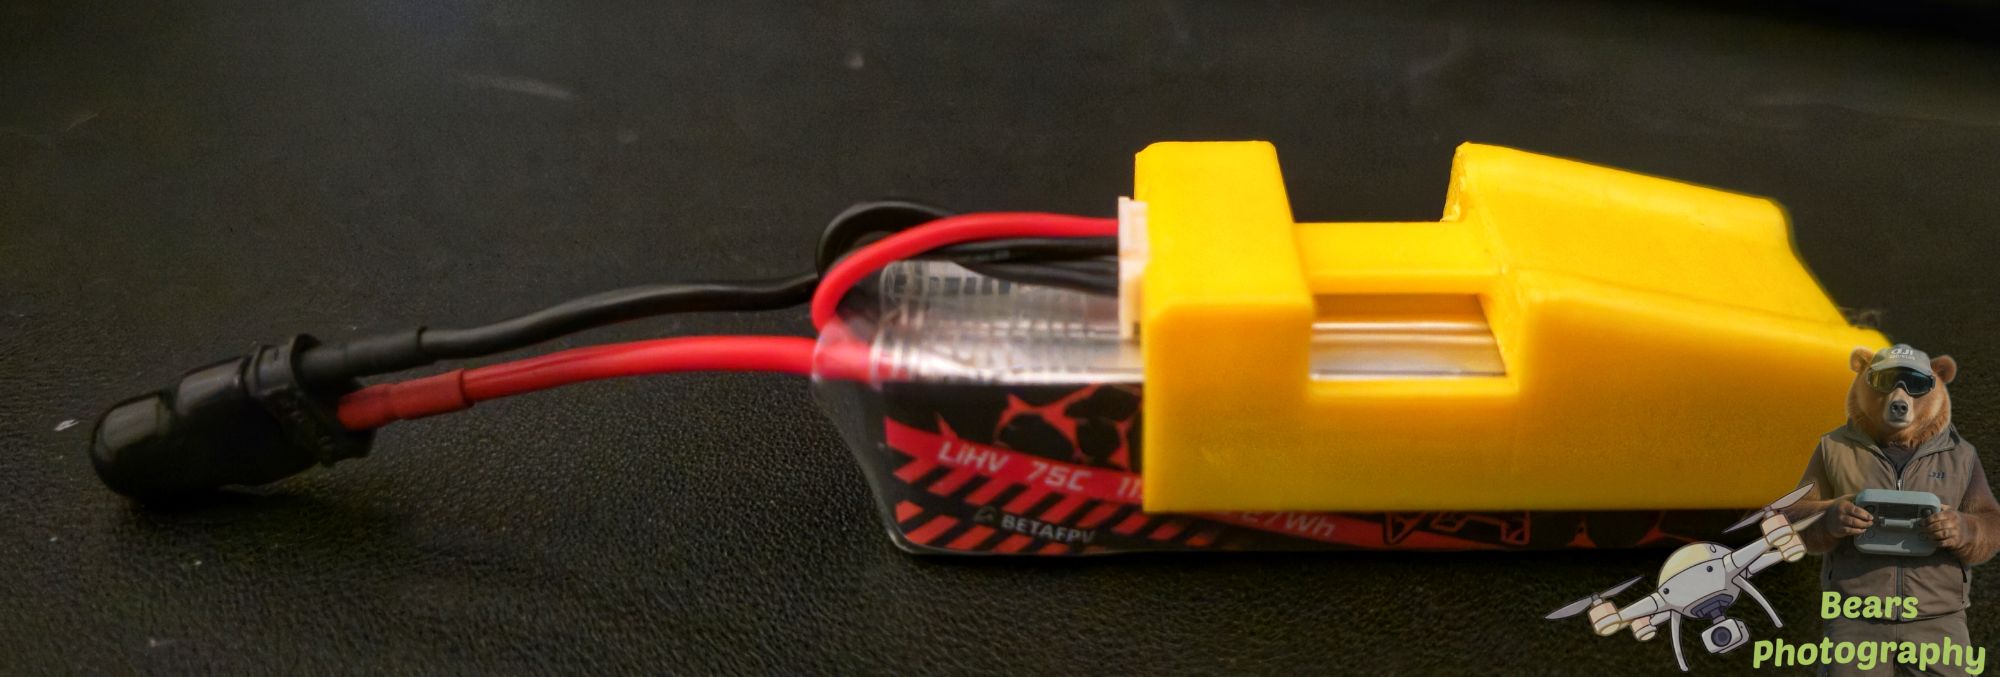
Weight before battery and with battery. the battery is a lava 550mah
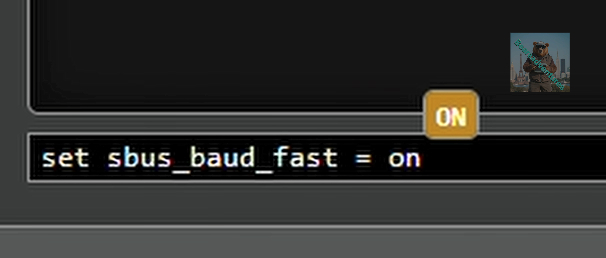
Before we go fly if you want to add SBUS Baud Fast head over to here.
last thing todo is go fly and have fun
Add GPS to your PAVO Here
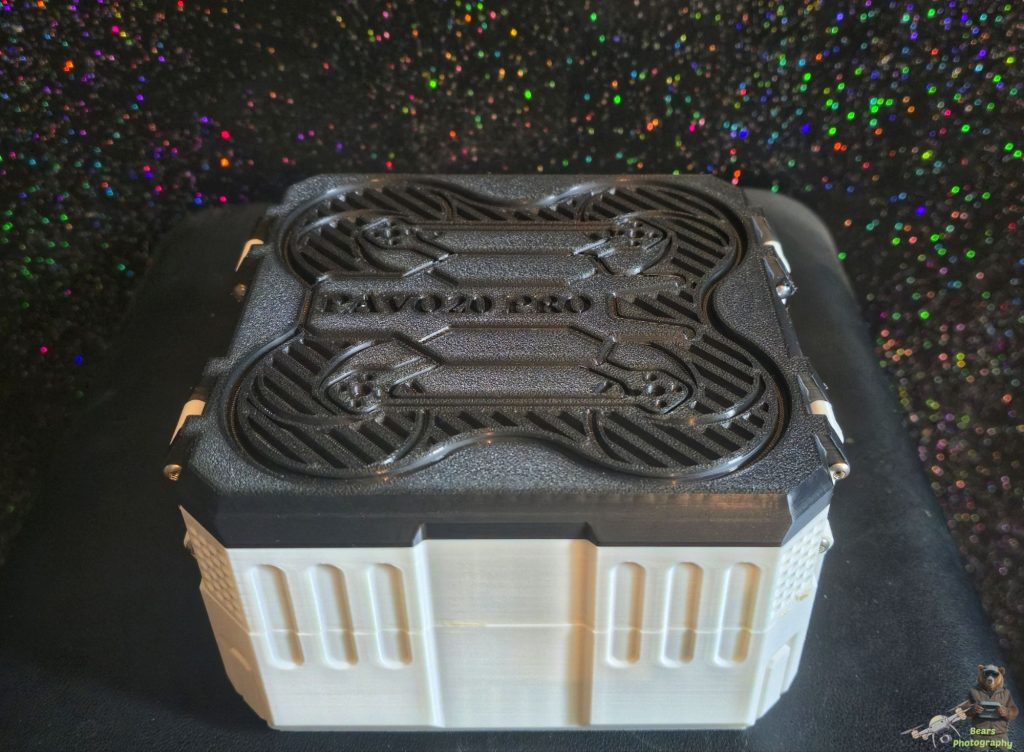
If you are interested in the case that was 3D printed i have found a STL file, See below. The Pavo came with the case.
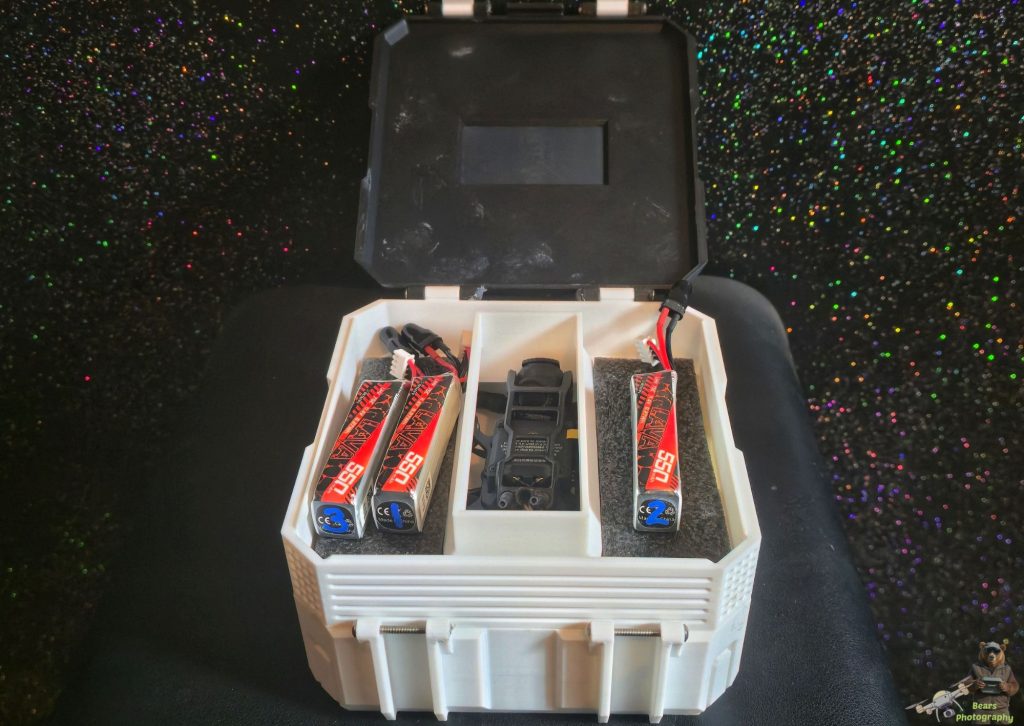
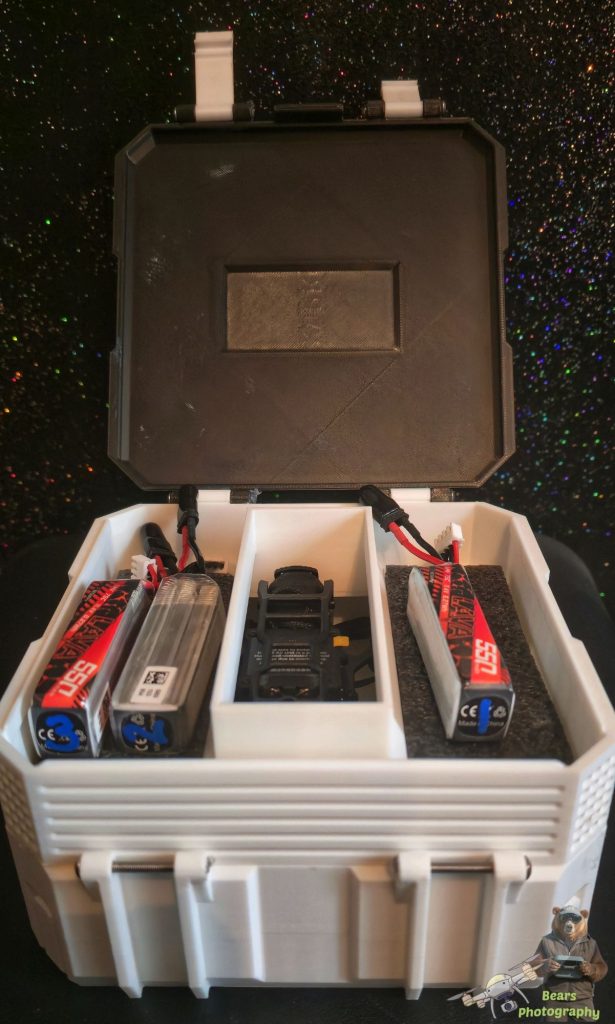
I had a friend print this 3s battery protector. for when i land. File download below.
Recommend Parts
- FC&ESC: F4 2-3S 20A AIO FC V1
- Motor: LAVA Series 1104 | 7200KV Brushless Motors
- Propellers: Gemfan 2218 3-Blade Propellers (1.5mm Shaft)
- Frame: Pavo20 Pro Brushless Whoop Frame
- Battery: LAVA 3S 450mAh 75C Battery, LAVA 3S 550mAh 75C Battery
- Filter: ND Filter for O3 Camera, ND Filter for O4 Pro Camera
- VTX: DJI O3, DJI O4 Pro, Caddx Vista, RunCam Link
- Accessory: 5.8G VTX Antenna Packet, Drone Screw Pack